How to Make Mead
When you make mead, you're joining a tradition that's been around for centuries — it was the drink of choice for vikings, and the honey wine is gaining in massive popularity today.
Still, mead is hard to find at the store — and even harder to find exactly the kind of mead you'd like to try at the store (and there are a LOT of different varieties).
Luckily, it's super easy — and delicious! — to make your own mead at home.
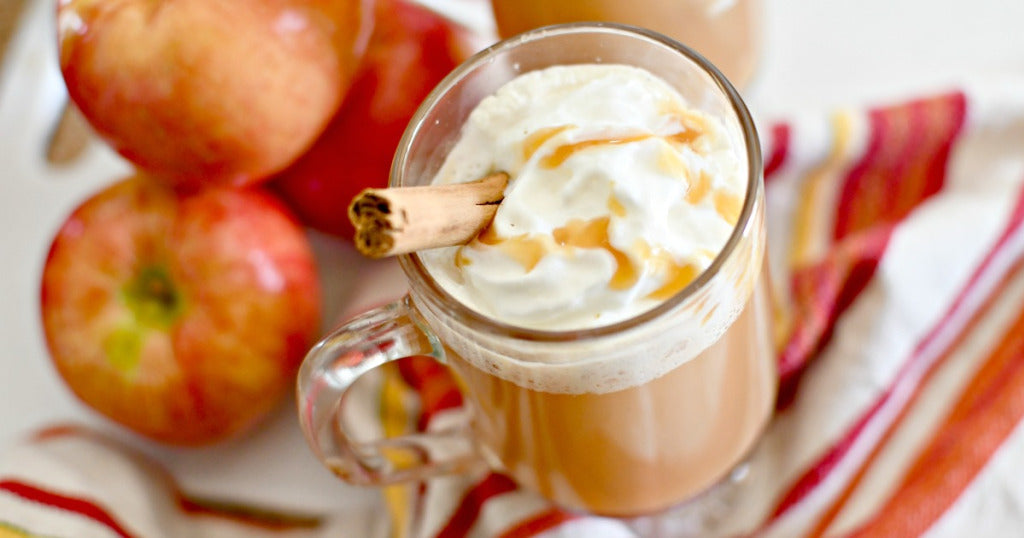
Once you've mastered the basic recipe, you can start adding fruits and spices — or you can make a cyser (apple mead) or pyment (grape mead).
What is mead?
Mead is wine made out of honey and water. If you can imagine the floral hints of honey without all the sweetness — that's a bit what mead tastes like. But it can be as sweet or as dry as you'd like!
It's been around since viking times, but it's as good today as it was way back then. Plus, all you need is honey, water, and yeast to make it (and you can make your own customizable viking drinking horn later).

After a few weeks, you'll have a deliciously alcoholic (usually 10% to 12% ABV) honey wine on your hands!
It can be made with different types of honey, depending on the flavor you want to achieve. You can also infuse your mead with fresh fruit, herbs, and spices (lavender-infused mead is pretty lovely) — so the possibilities are really up to you.
All the Equipment You’ll Need
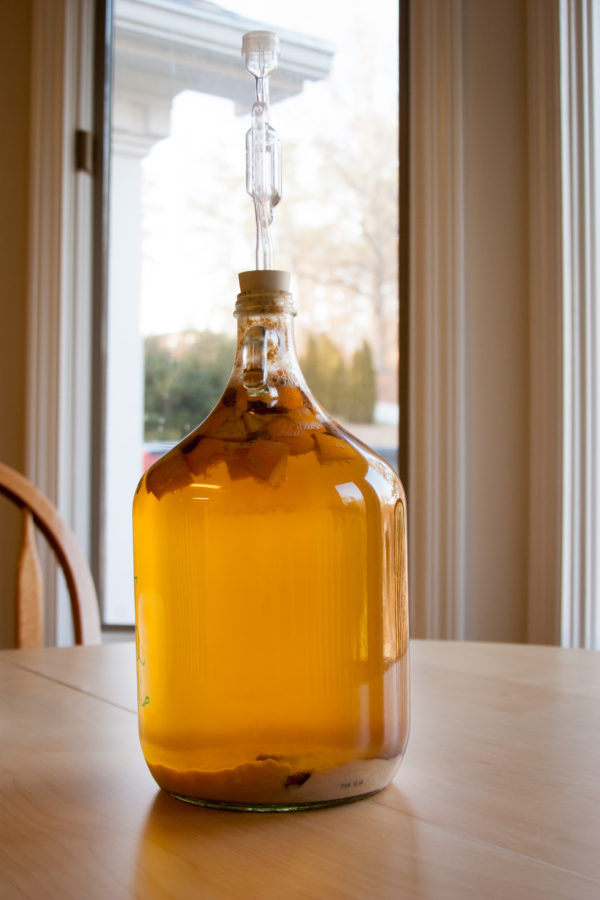
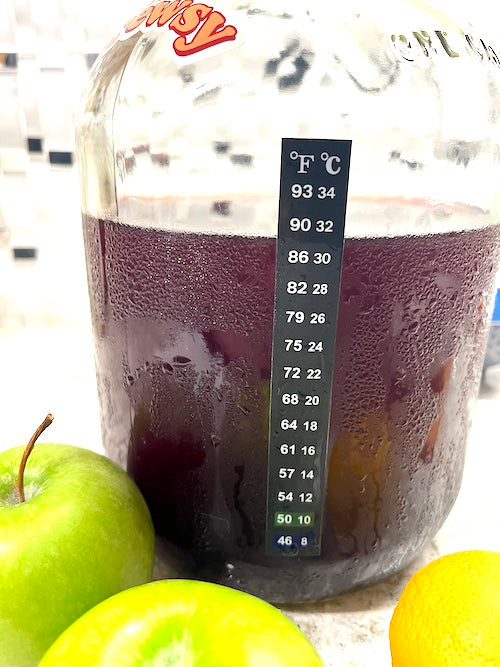
First, you’ll need a glass gallon carboy — this is where you'll store your mead while it ferments. If you don't have a glass carboy, any food-grade, sanitized gallon container will work.
You’ll also need an airlock and rubber stopper, which will make sure that carbonation can escape from your mead while it is fermenting, but also prevent anything bad from getting into your mead.
Gathering Your Ingredients

Besides water and (optionally) a bit of your tea of choice for flavor, you'll also need honey! The type of honey you use will partially determine the flavor of your mead. Feel free to use a flavorful honey, like clover or orange blossom — you'll be able to taste the delicate flavors of the honey in your wine.
Not all of us have apiaries near us, but if you can use local honey, that's awesome, too. We love supporting our local beekeepers.
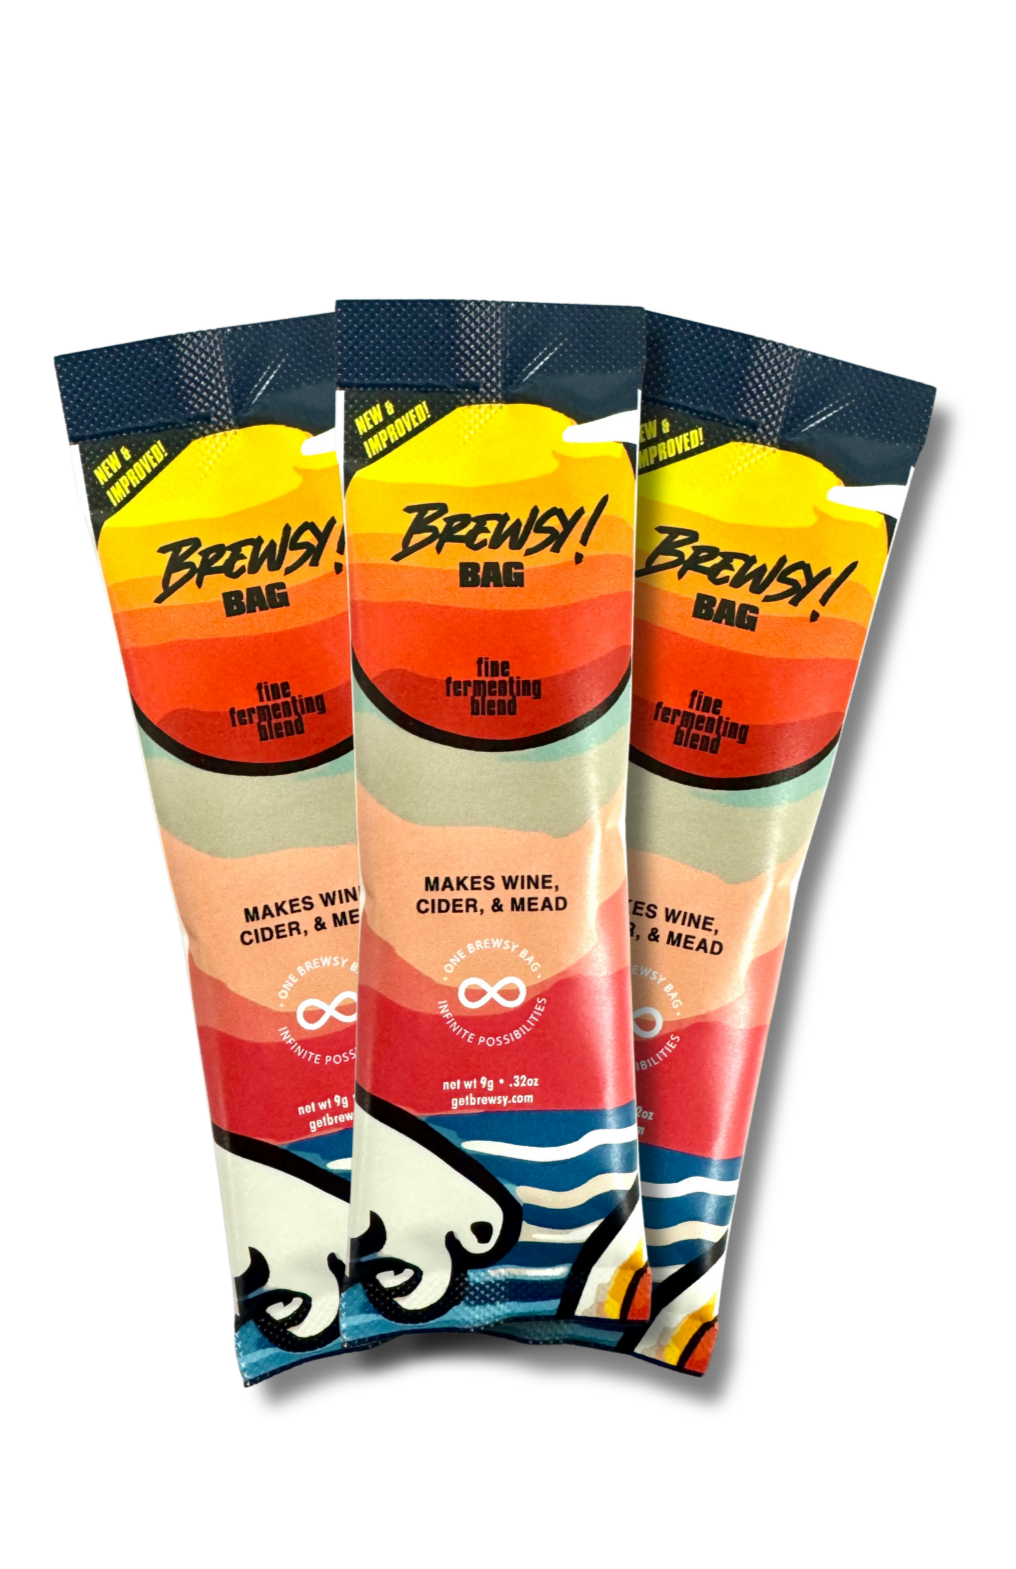
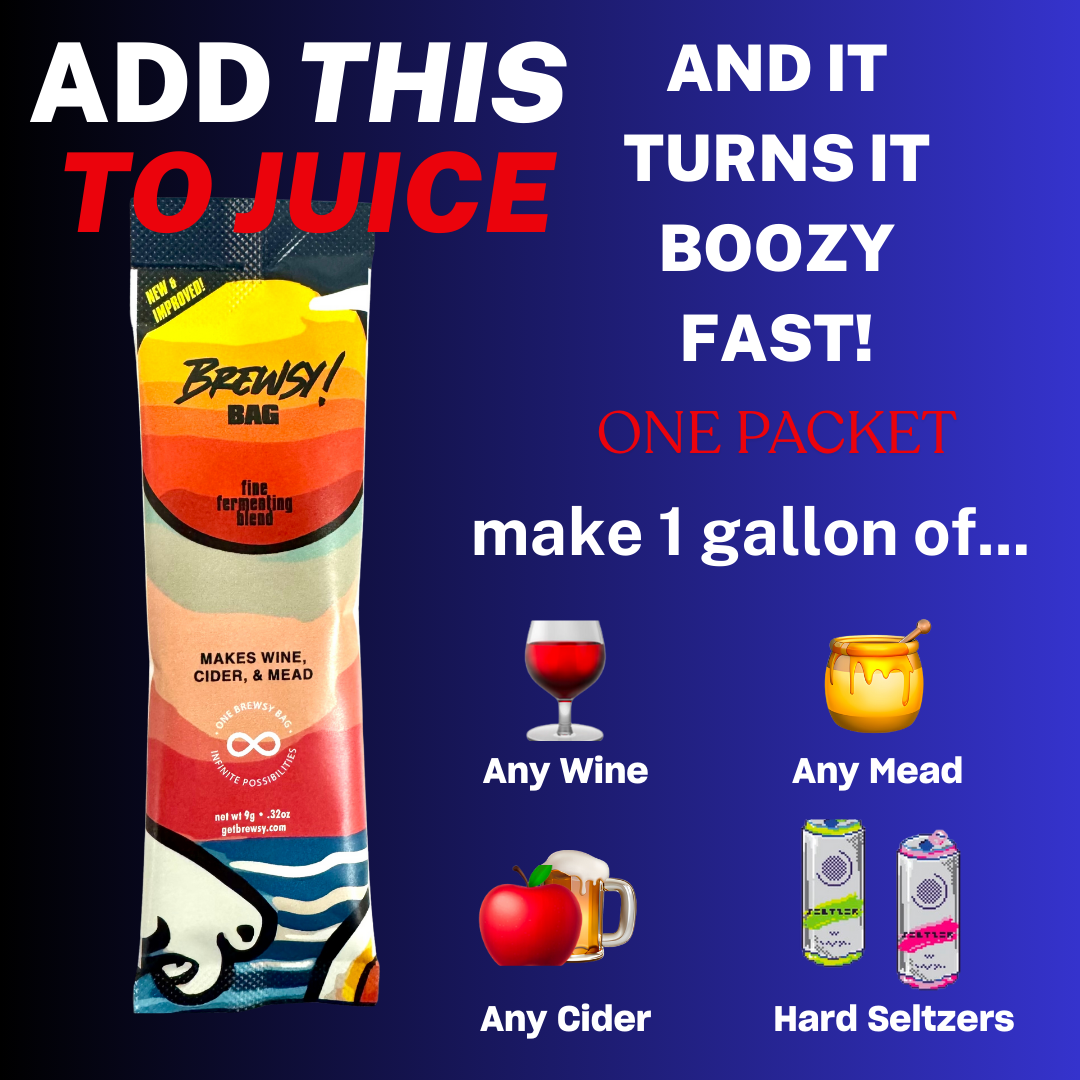
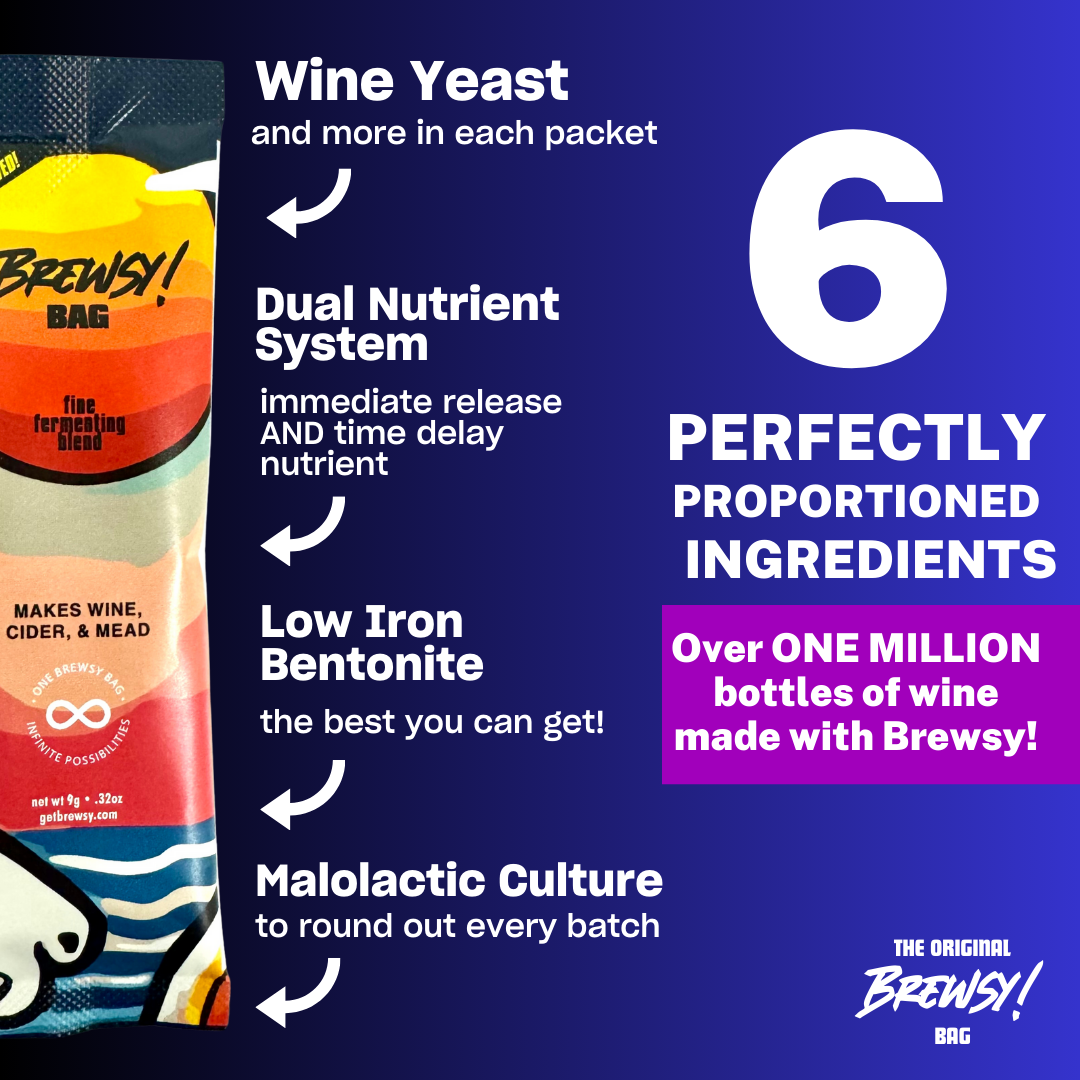
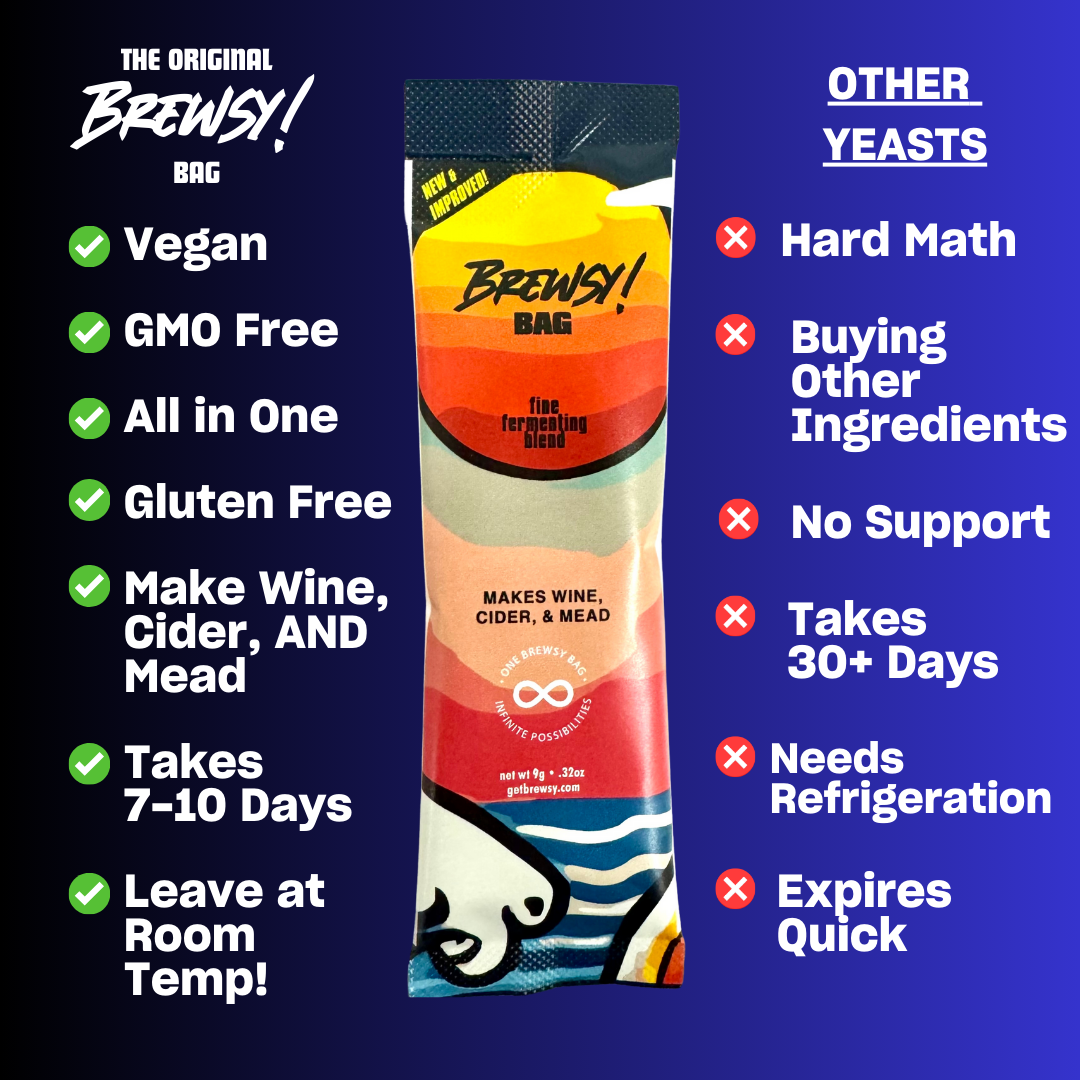
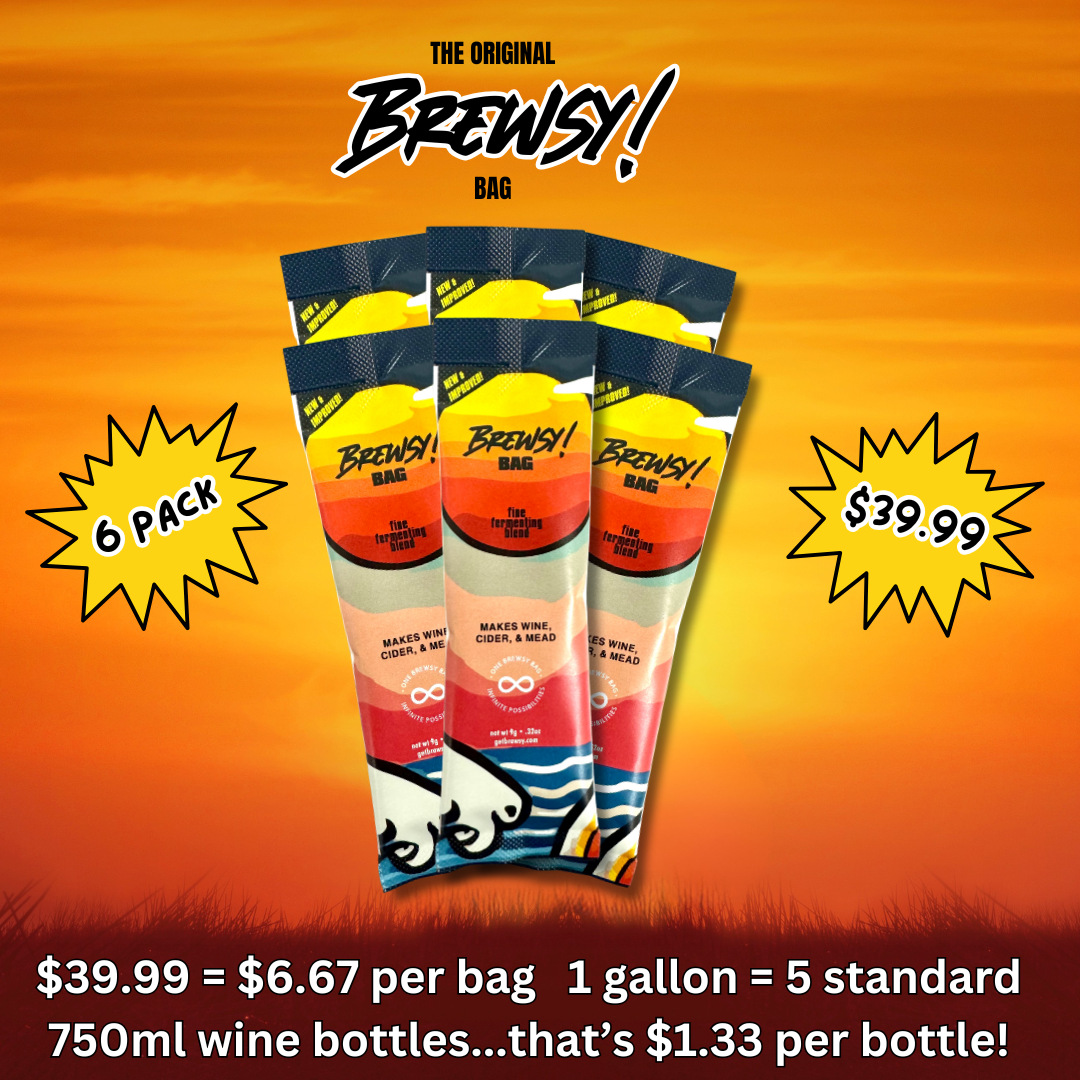
In order to start the fermentation process, you’ll need a wine yeast. In this recipe, we use the brewsy bag, which is a combination of an industry-exclusive wine yeast, nutrients for healthy yeast, energizer for a quick and hearty fermentation, potassium bicarbonate (to reduce strong, acidic flavors), malolactic culture (to make your wine smoother) and bentonite (a clarifier for sparkling clear wine). It's the only way to ensure that you have a reliably strong and successful fermentation.
How Much Honey Should I Use?
In this recipe, you can choose exactly how sweet you'd like your wine to be. We'll go over it in further detail later, but we recommend using between two and three pounds of honey per gallon of mead — 2 pounds if you want it on the dryer side, and 3 pounds if you'd like it to be sweeter.

How to Make Mead: Full Recipe
Okay, now let's get started!
Step 1: Preparation
First, heat up the honey and water in a pot on the stove until the honey is completely dissolved.
Stir the honey and water mixture well, and let it cool to about 90°F. Make sure it's not too hot — when it's time to add the yeast, you don't want to kill it! Yeast is a living organism, and can only survive at temperatures below 110°F.
Once the honey and water mixture has cooled, add your wine yeast or brewsy bag.
Then, shake it all up! You'll want to shake it up for about 30 seconds — it's a good workout, too.
Step Two: Fermentation
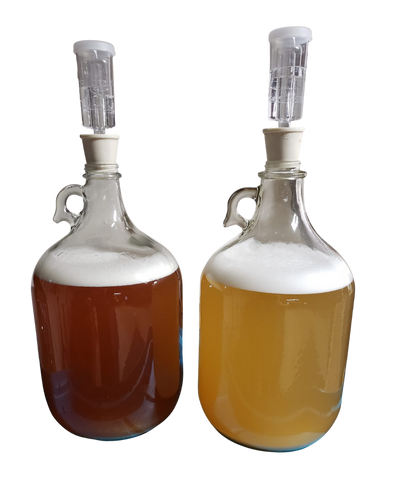
Pour the mixture into your clean glass gallon carboy, and attach the airlock. Insert the stopper into the top of the gallon’s bottleneck, and fill the airlock with water.
Then, fermentation begins! Put your mead in a warm, dark place.
Your mead will start to ferment within 24 to 48 hours, and will continue doing so for about a week (sometimes longer). You'll know it's done when the bubbling has slowed down significantly (fermentation creates carbon dioxide, which causes bubbling in the airlock).
The fermentation usually takes about 7 days, but your mead might bubble as long as two weeks! That’s totally fine — the longer your mead ferments, the more sugar your yeast are eating — and the dryer and more alcoholic your mead will become.
When in doubt, taste-test your mead for sweetness, and then go onto the next step when your mead tastes dry enough for your liking. If it still tastes too sweet, let it keep fermenting for several more days until it tastes more dry.
Step Three: Filtering Your Mead
Once the bubbling has slowed down significantly, it's time to get rid of the lees (that's the sediment that has settled at the bottom of your carboy) and prep your mead to be enjoyed!
We definitely don't want any yeasty particles in our wine, so we're going to get rid of them by first forcing any leftover yeasty bits to the bottom of the container.
A great way to do this it simply to pop your mead in the fridge! Keep it in there for at least two days. The cold forces any leftover particles to fall to the bottom of your container.
After that, you'll need to filter (or 'rack') your mead. To do this, simply pour your mead off of the lees (all that cloudy sediment that will show up at the bottom) at into another container. You can also grab a siphon for a totally mess-free transfer (which can be tricky if you're not used to it, but super effective!)
Optionally, you might want to use a clarifying agent, which works on the molecular level to bind to small particles in your mead — particles that might lead to yeasty, bitter flavors.We carry a product called GoClear, which is a great option for clarifying your Brewsy!
Step Four: Bottling Your Mead
Many meadmakers believe that aging helps to bring out the subtle flavors in the honey, resulting in a more delicious final product. But some people prefer the bright flavor of young mead!
We recommend having a glass now, and saving a few bottles for later (this recipe will yield 4 750mL regular-sized wine bottles). You can compare the taste of younger and aged meads, and see which one you like better!
We hope you enjoy this recipe for basic mead — be sure to experiment with different flavors and ingredients to find what works best for you. Mead is a really versatile drink, and meadmaking is truly an art. Don't be afraid to get creative, and happy brewing!
Let the meadmaking and experimentation begin!


