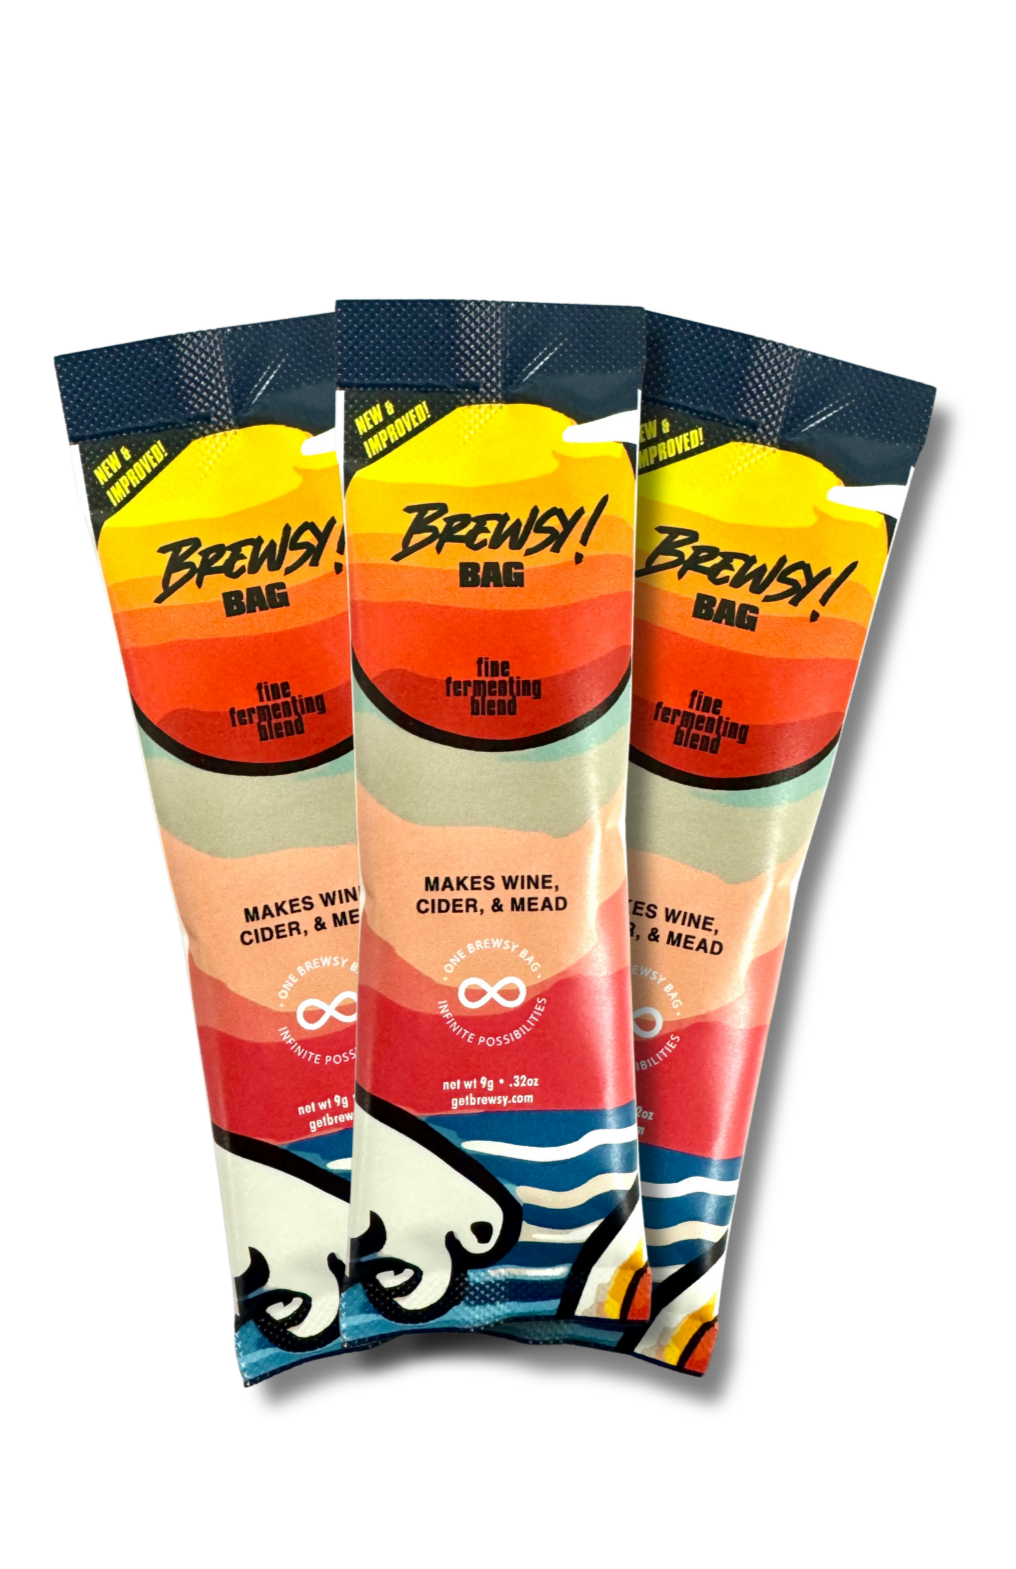
Brewsy Bags are in stock! 🍇 3 packs, 6 packs, and our starter kits are available— perfect for your next batch of wine, cider, or mead. Thanks for your support 💜 —Team Brewsy **** Free Shipping Over $99! ****
Cherry Wine Recipe by Brewsy

Cherry Wine Recipe

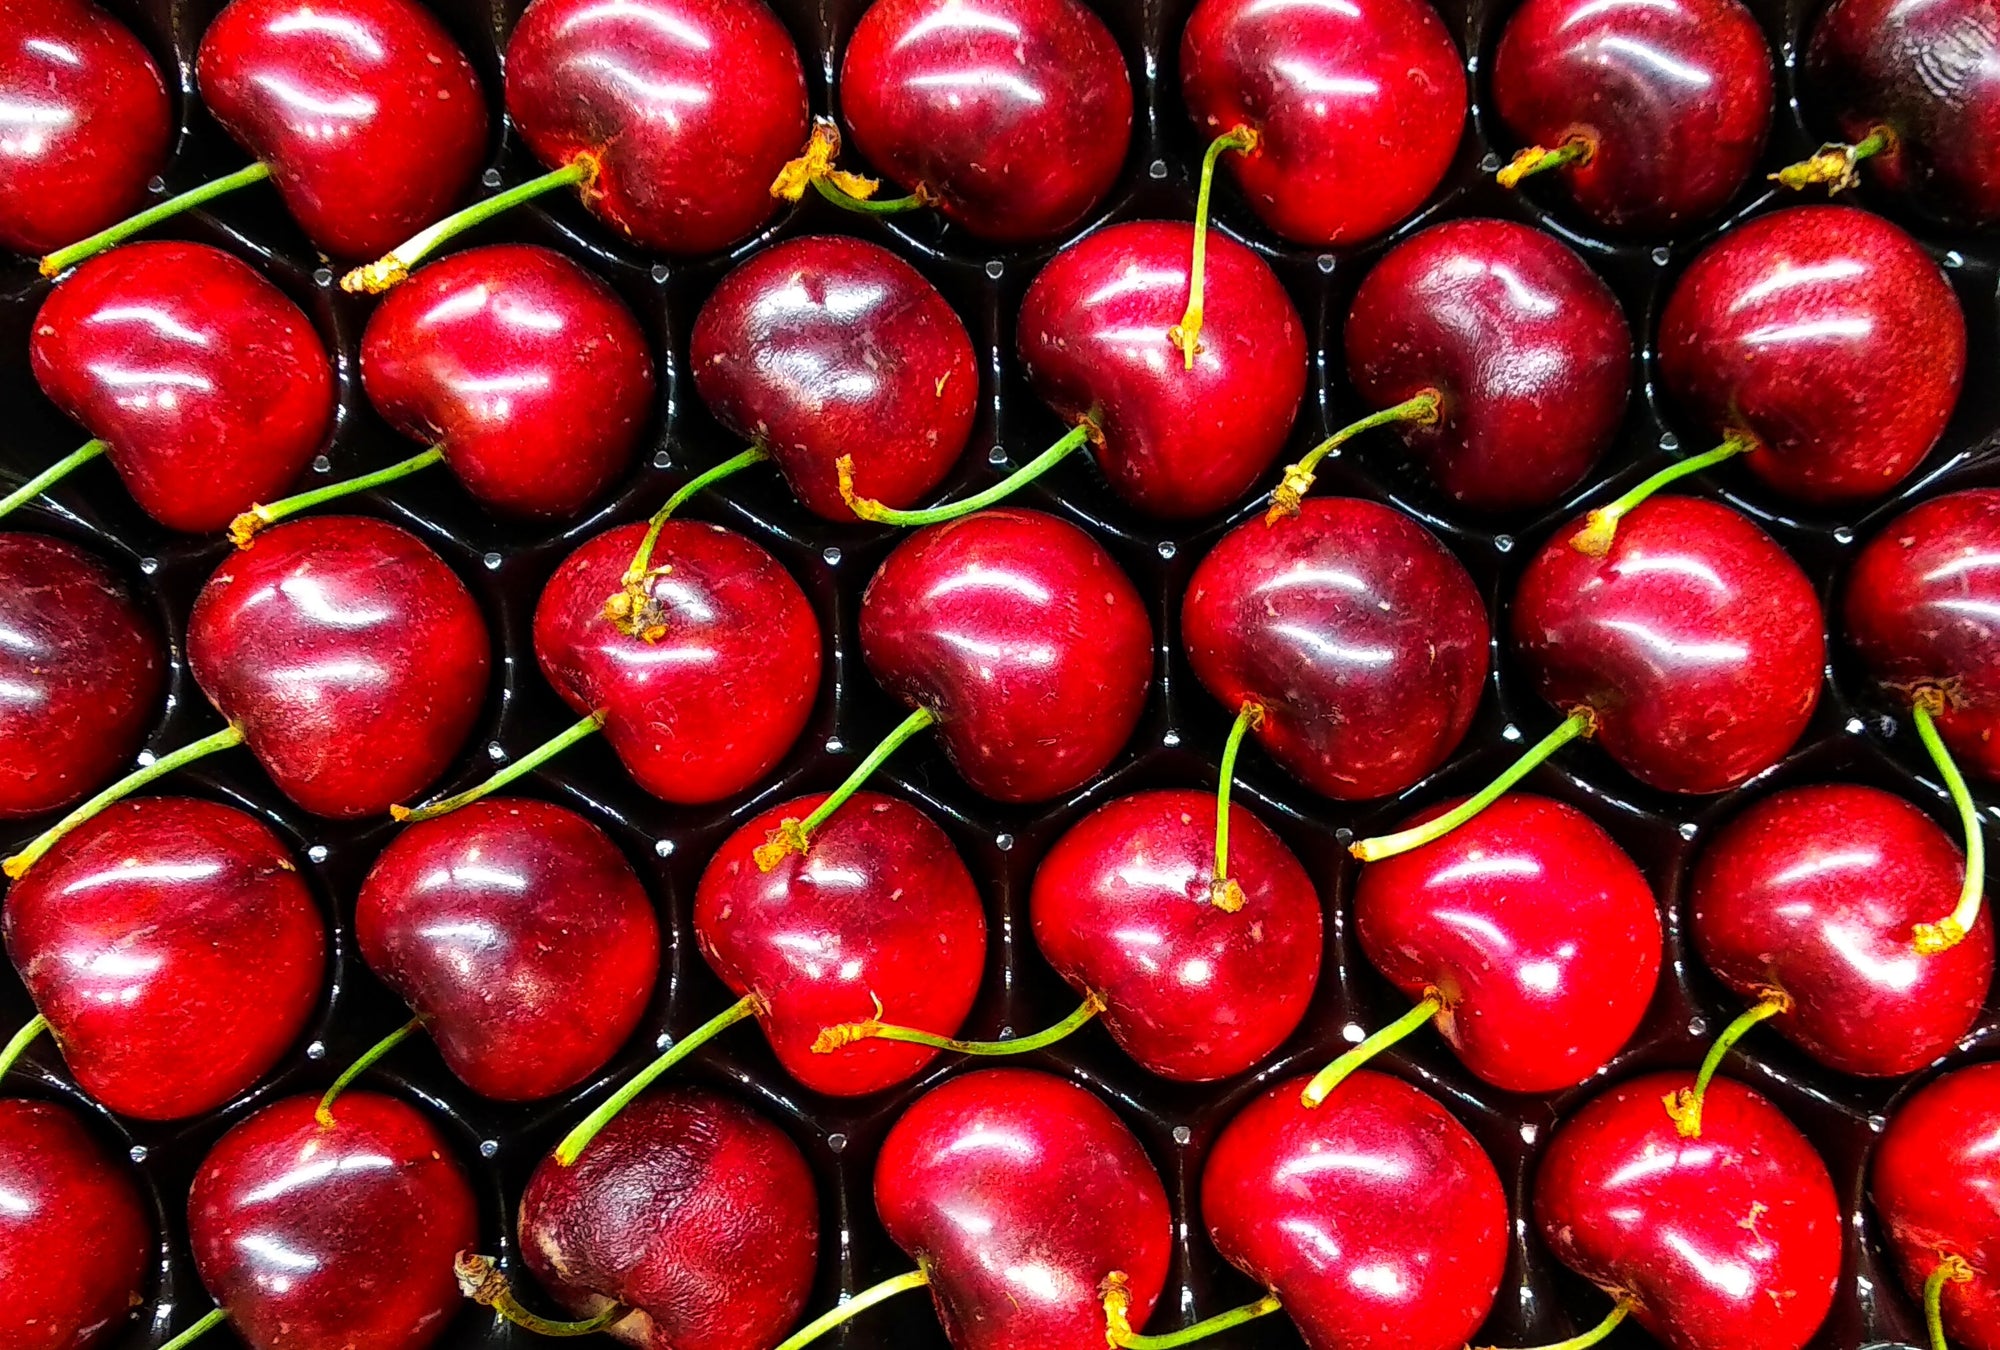
Cherries make the perfect summer snack, but they also make a fantastic summery fruit wine.

If a deep, red wine with the characteristic floral, fruity, and tart flavor of a cherry sounds good to you — you're in luck.

Cherry wine is hard to find at the store, but making it at home is surprisingly easy and delicious. In this recipe, we use fresh cherries, but hint: it'll be just as good with 100% cherry juice, too. Trader Joe's has excellent tart cherry juice that we love to use.

All the Equipment You'll Need

  • A cherry pitter: This will make the process of removing the cherry pits much easier and faster.
  • A glass gallon jug or bucket: this is where you'll be fermenting your cherry wine.
  • An airlock: allows carbonation to escape while your wine is fermenting, but prevents anything else from getting in.
  • Cheesecloth: This will be used to strain your cherry juice before fermentation begins.
  • An extra gallon jug or bottles: to store your finished product.

Prepping Your Cherries

The first ingredient you will need is, of course, cherries! If you are using fresh cherries, you will need to pit them before proceeding. This can be done by using a cherry pitter, or by carefully cutting the cherry in half and removing the pit with a knife. If you are using frozen cherries, you'll want to thaw them before use.

Once thawed and pitted, place the berries in a large pot or bowl and crush them with a spoon or potato masher. Add the sugar and hot water, and stir well.

Step 3: Preparing for Fermentation

If you're fermenting your cherry wine in a glass gallon jug, strain the mash and skins out with a cheesecloth, then add the mixture to your gallon jug.

Make sure there's at least 4 inches of space for headroom in your fermentation vessel. If there isn't, pour out a bit of the juice to avoid overflowing during fermentation.

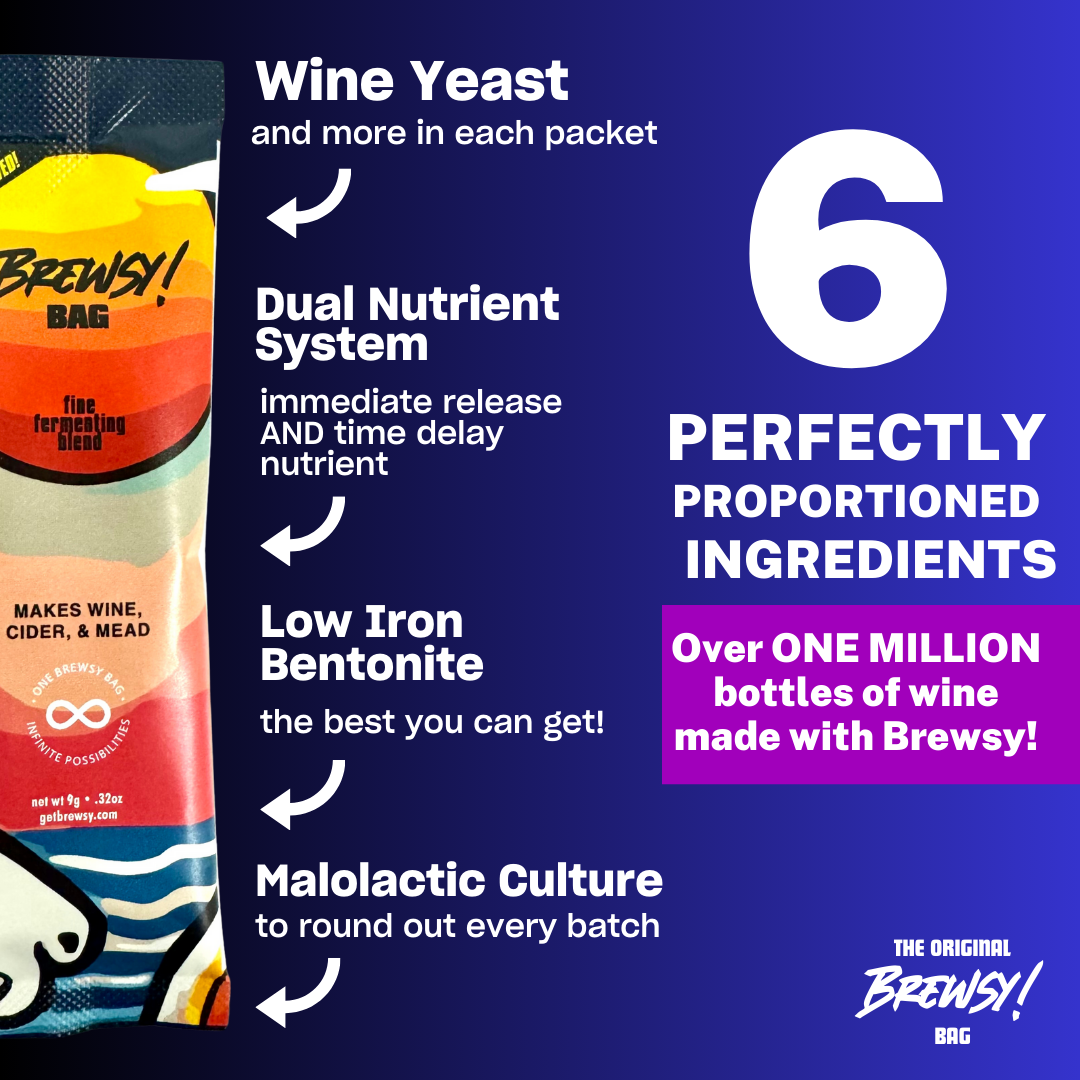
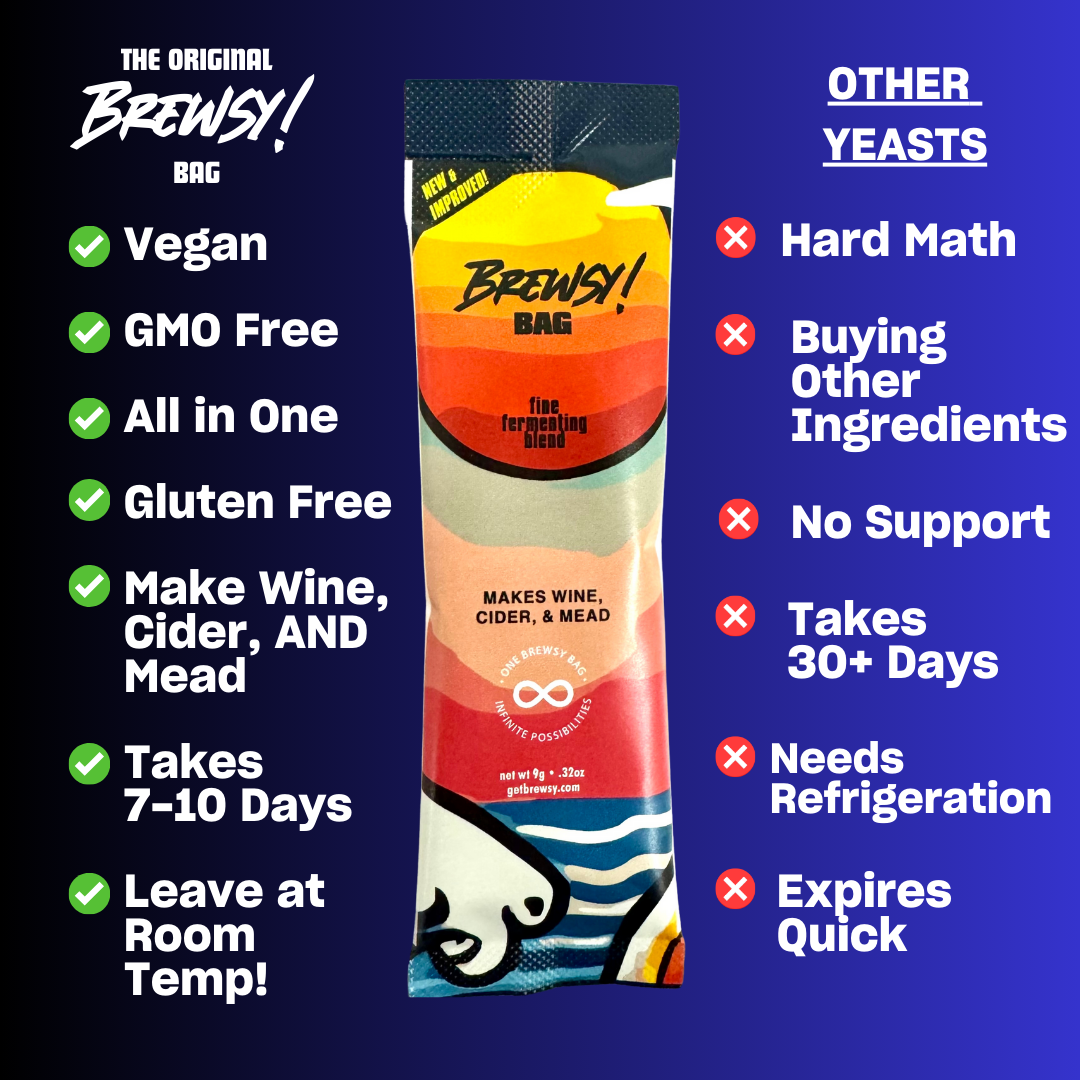
Next, in order to start the fermentation process, you’ll need a wine yeast. In this recipe, we use the brewsy bag, which is a combination of an industry-exclusive wine yeast, nutrients for healthy yeast, energizer for a quick and hearty fermentation, potassium bicarbonate (to reduce strong, acidic flavors), malolactic culture (to make your wine smoother) and bentonite (a clarifier for sparkling clear wine). It's the only way to ensure that you have a reliably strong and successful fermentation.

Add an entire Brewsy bag in, and pop on your airlock on top (making sure it's full of water).

Step 4: Fermentation

Your cherry wine will start to ferment within 24 to 48 hours, and will continue doing so for about 5 to 7 days(sometimes longer). You'll know it's done when the bubbling has slowed down significantly (fermentation creates carbon dioxide, which causes bubbling in the airlock), or when it starts to taste a bit dry.

When in doubt, taste-test your cherry wine for sweetness, and then go onto the next step when your wine tastes dry enough for your liking. If it still tastes too sweet, let it keep fermenting for several more days until it tastes more dry.

Step 5: Filtering Your Wine

Once the bubbling has slowed down significantly, it's time to get rid of the lees (that's the sediment that has settled at the bottom of your carboy) and prep your wine to be enjoyed!

We definitely don't want any yeasty particles in our wine, so we're going to get rid of them by first forcing any leftover yeasty bits to the bottom of the container.

A great way to do this it simply to pop your wine in the fridge! Keep it in there for at least two days. The cold forces any leftover particles to fall to the bottom of your container.

After that, you'll need to filter (or 'rack') your wine. To do this, simply pour your wine off of the lees (all that cloudy sediment that will show up at the bottom) at into another container. You can also grab a siphon for a totally mess-free transfer (which can be tricky if you're not used to it, but super effective!)

Optionally, you might want to use a clarifying agent, which works on the molecular level to bind to small particles in your mead — particles that might lead to yeasty, bitter flavors. Every Brewsy kit comes with a clarifying agent to rid your wine of any off-flavors and make it sparkling clear.

Step 6: Bottling Your Cherry Wine

Many winemakers believe that aging helps to bring out the subtle flavors in the fruit, resulting in a more delicious final product. But some people prefer the bright flavor of young cherry wine!

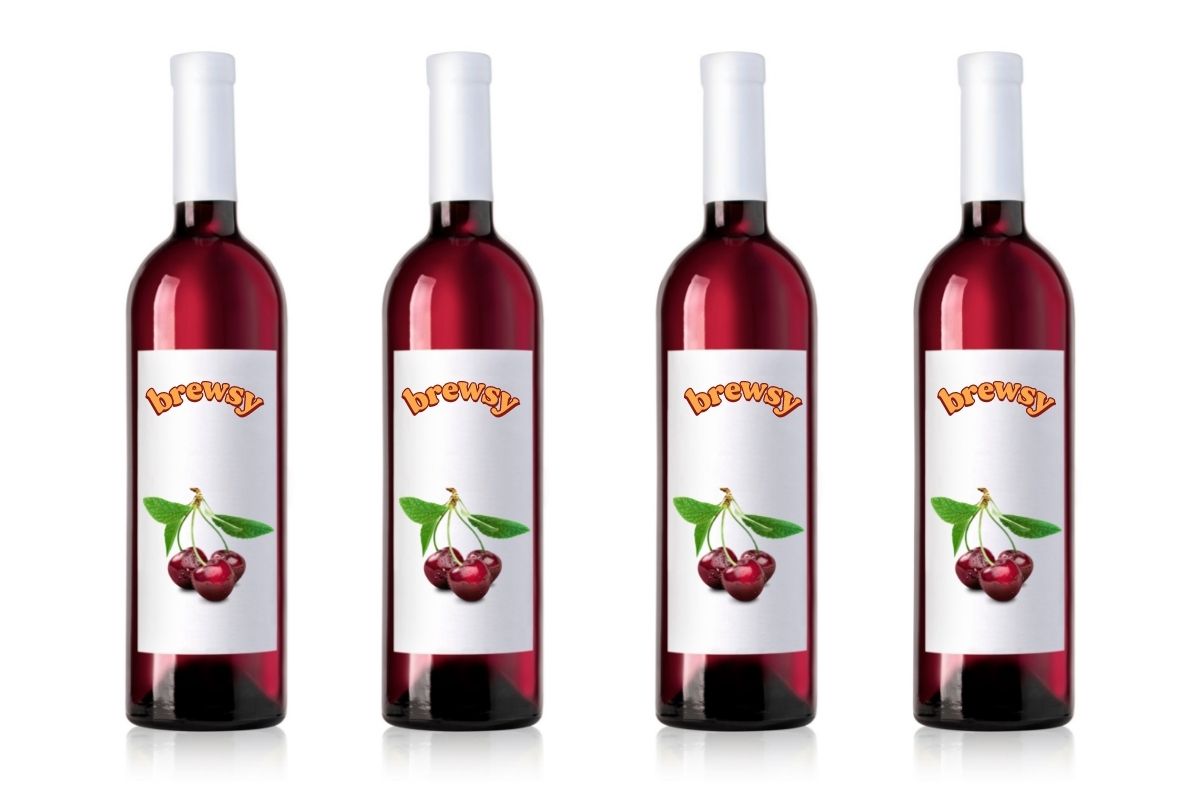
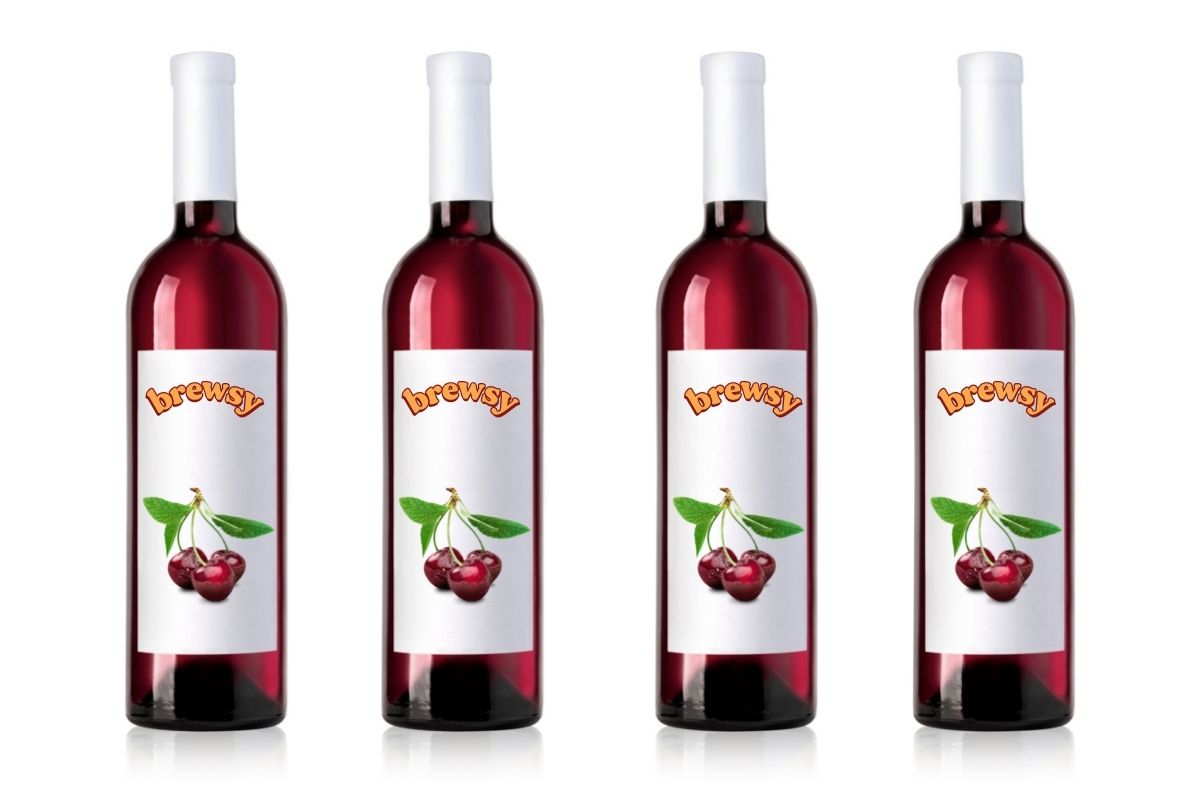
We recommend having a glass now, and saving a few bottles for later (this recipe will yield 4 750mL regular-sized wine bottles). You can compare the taste of younger and aged wine, and see which one you like better!

The most common complain we hear about cherry wine is that it sometimes comes out too dry. Don't worry, it will get better with time. But, if yours seems to lack flavor, you'll want to backsweeten it by making a simple syrup.

We hope you enjoyed this recipe for cherry wine! Ready to get started? Grab a Brewsy winemaking kit, which has all the tools you need to guarantee delicious and reliable cherry wine (or cyser or whatever you'd like!) every time you make it! (and use code FRUIT15 for 15% off, too).
Cherry Wine

Team Brewsy

bottles

1 Gallon

prep time

15 minutes

brew time

5 hours

category

fruit wines, easy, summer

Cherry Wine

ingredients

    blank

    • 1 Gallon Container

    • 1 Airlock

    blank

    • Basic Starter Kit

    • 1 Gallon Cherry Juice (or 4 pounds of cherries)

    • White Sugar

    directions

    1. Get everything ready to go. For this recipe, here’s what you’ll need:

      1 gallon of cherry juice (For best results, use an 100% cherry juice without any other type of fruit juice added. Trader Joe's and J.D Knudsen both have good options available).

      A clean container for fermentation (either the container your juice comes in, a gallon jug, or any other food-safe container)

      White sugar

    2. Get your juice ready. Make sure your cherry juice is at room temperature, and then pour it into your clean gallon jug or fermentation container, if you're not making your wine directly in the juice bottle.

    3. Add your sugar. Brewsy gives you the choice for how sweet or dry you would like your final wine to be. Choose how sweet you’d like your final wine to be by opening the drink designer.

      Then, pour out juice to make room for headspace if necessary, and then add your sugar according to the drink designer. If you have extra juice, you can drink it now or save it to make a simple syrup with later.

    4. Shake well. Shake until the sugar is evenly mixed into your juice and almost entirely dissolved.

    5. Add one full Brewsy bag. Then shake vigorously for 30 seconds to help wake up the yeast.

    6. Put on the airlock. First, squeeze the rubber stopper into your gallon’s bottleneck, and then attach the plastic airlock. Fill the airlock with water, and then snap the hole-punched plastic part back on.

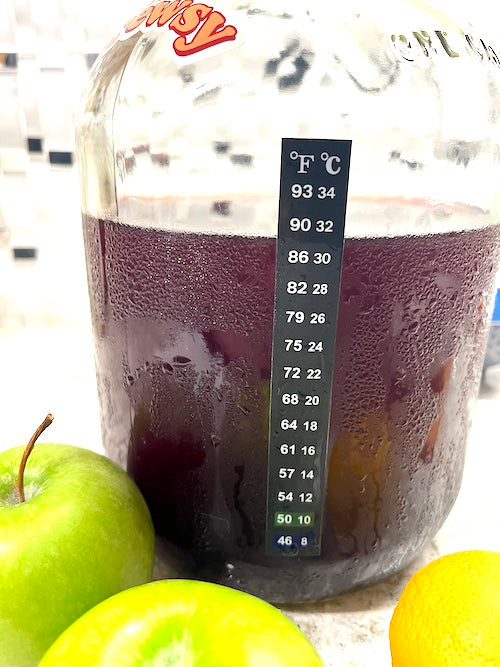
    7. Put your wine in a warm, dark place. An attic, closet, or near your water heater are all good places. The ideal temperature is 75°F to 85°F. (The fermentation will take longer in cooler temperatures).

      Now, fermentation is beginning. Fermentation will take approximately 5 days.

      Tip: Once or twice a day, swirl your container to make sure the yeast make surface contact with all of the juice.

    8. Wait 5 days, then taste-test. After 5 days, take a very small sip of your wine. Right now, the yeast haven’t been separated from your wine, so it won’t taste amazing just yet.

      When you taste, taste primarily for sweetness. If it tastes dry enough for you, move on to the next step. If it still tastes too sweet, let it ferment for 3 more days, then repeat the taste-test.

    9. Put your wine in the fridge. Take off the airlock and put the hole-punched cap on your gallon jug — or, simply use a loosened cap.

      Tip — make sure you never fasten the cap of your gallon jug to prevent potentially explosive carbon dioxide buildup!

    10. Wait two days while your wine is in the fridge.

      During this time, the cold in your fridge is forcing the solids in your wine to the bottom of the container, making it easier for you to separate them in the next step.

    11. Rack your wine. Slowly, pour your wine off of the sediment at the bottom into a different container.

      Your goal is to remove as much of the sediment as possible, so try not to tip your jug back up until you’ve finished pouring.

    12. Take a sip! Now, you can taste your wine! Cheers!

      You may love it away, but you may find it tastes harsh or a bit off. Don’t worry! That's very normal with young alcohol. It will get better and better with time.

      If it tastes bitter, you can quickly fix that by making a simple syrup.

    13. Return your wine to the fridge with a loosened cap. Unlike store-bought wine, Brewsy doesn’t have any preservatives, so it needs to stay in the fridge with a loose cap unless it is properly prepared for room temperature storage.

      If you’d like to bottle your wine for storage outside of the fridge, you can find out how to do that here.

    14. Age your wine. The character of your wine will change significantly as it ages.

      Harsh tastes or off-flavors will dissipate, and your wine will taste smoother and more flavorful. Age your wine for at least 2 weeks, racking it about once a week.

    15. Enjoy! Share your cherry wine with our Brewsy communities, the First Pour Club and Club Brewsy.

      And be sure to reach out to us with any questions. You can text us at the number we texted you from about your order, message us on Facebook, or send us an email at hello@getbrewsy.com.

    More Recipes & Ideas

    • strawberry kiwi mead recipe by brewsy

      Easy Strawberry Kiwi Mead

      **🍓🍍 Strawberry Kiwi Mead – A Refreshing Twist on Tradition! 🍯**Looking for something *deliciously different*? Brew your own **Strawberry Kiwi Mead** with our easy-to-use **Brewsy Bag**! Made with a special blend of ingredients, this mead combines the sweetness of strawberries...

    • Watermelon Wine made with Fresh Fruit and our Original Brewsy Bag

      Refreshing Watermelon Wine

      a bottle of sweet and fruitful wine perfect for a sunny day on the beach or a picnic in the park.
    • What Are the Professions Related to Winemaking?

      What Are the Professions Related to Winemaking?

      Just like a product from many industries, wine is the result of the collaboration of various teams, if you will. While consumed on a regular basis and sometimes even taken for granted, wines are the culmination of years of improving...

    • Joe's Ancient Orange Mead

      Joe's Ancient Orange Mead

      While the name Joseph has been around for at least a couple thousand years, the nickname Joe has not been, so this particular type of is not as ancient as one would think. That being said, any in the meadmaking...

    • How to Pair Red Wine

      How to Pair Red Wine

          Red wine is one of the most popular types of wine in the world. It pairs well with a variety of foods, and there are many different flavors to choose from. But there are certain flavors it will go better...

    • mango mead recipe by brewsy

      Delicious, Simple Mango Mead Recipe | Homemade Mango Mead

    • Cherry Mead Recipe by Brewsy

      Simple Cherry Mead - Super Easy and Tasty Homemade Cherry Mead

      Have you ever wanted to give mead a try but weren't quite sure where to start? We have you covered with this super simple- and super tasty recipe for Cherry Mead that will impress your friends!

    • Easy Blackberry Mead Recipe

      Easy Blackberry Mead Recipe

      This easy to follow blackberry mead recipe can be done at home with just a few simple ingredients and a 2-3lb bag of frozen blackberries. By following this recipe you'll learn how to make delicious homemade blackberry mead in as...

    • caramel apple cider

      caramel apple cider

      caramel apples are a fan favorite as soon as the weather turns cold enough for flannels - it'll be just as much of a favorite made brewsy style! extra sweet and extra yummy topped with whipped cream.