How to Make Homemade Wine
How to Make Homemade Wine
While winemaking itself has been going on for thousands of years, homemade wine, or hobby winemaking, has been seeing a rise in popularity in the past few decades. There are various reasons for making one's own wine, from being cheaper or more affordable to simply gaining a sense of satisfaction that you were able to create something for yourself. So, the question is: how to make homemade wine?
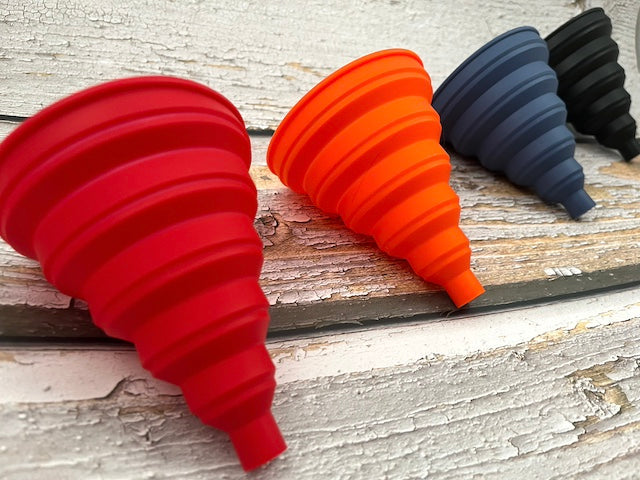
The equipment needed for traditional or bulk winemaking is very different, albeit similar in nature, from that needed to make wine at home. To summarize a previous blog post, you will need a couple of gallon jugs, an airlock, and, of course, wine bottles and a funnel. Optional, but equally useful, equipment includes a hydrometer, and a siphon kit. The former will help you determine how much alcohol there is in your brew, while the latter helps make racking spill-free. Also, while some bottles come reusable corks, a corker is still a better choice for sealing wine bottles.
Not strictly speaking equipment, but a couple of other things you might use is a clarification agent - such as our GoClear - and preservatives, should you wish to make your brew shelf-stable.
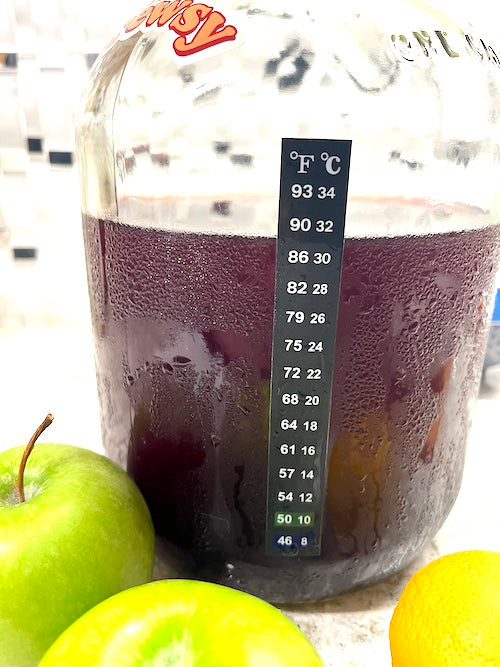
Now, the process of winemaking at home is relatively straightforward. The two biggest hurdles will perhaps be fruit preparation, if using fresh fruit, and ambient temperature. The recommended temperature for fermentation is between 75 to 85 degrees Fahrenheit (24 to 30 degrees Celcius). Fermentation can happen at temperatures lower than 75 but it is drastically slowed down, and higher than 90 can lead to overworked yeast.
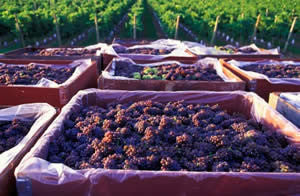
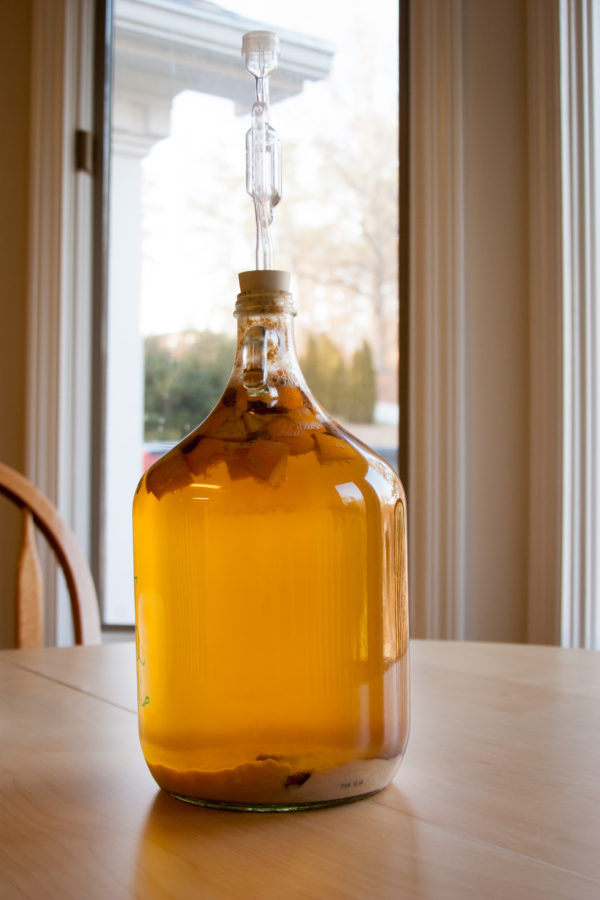
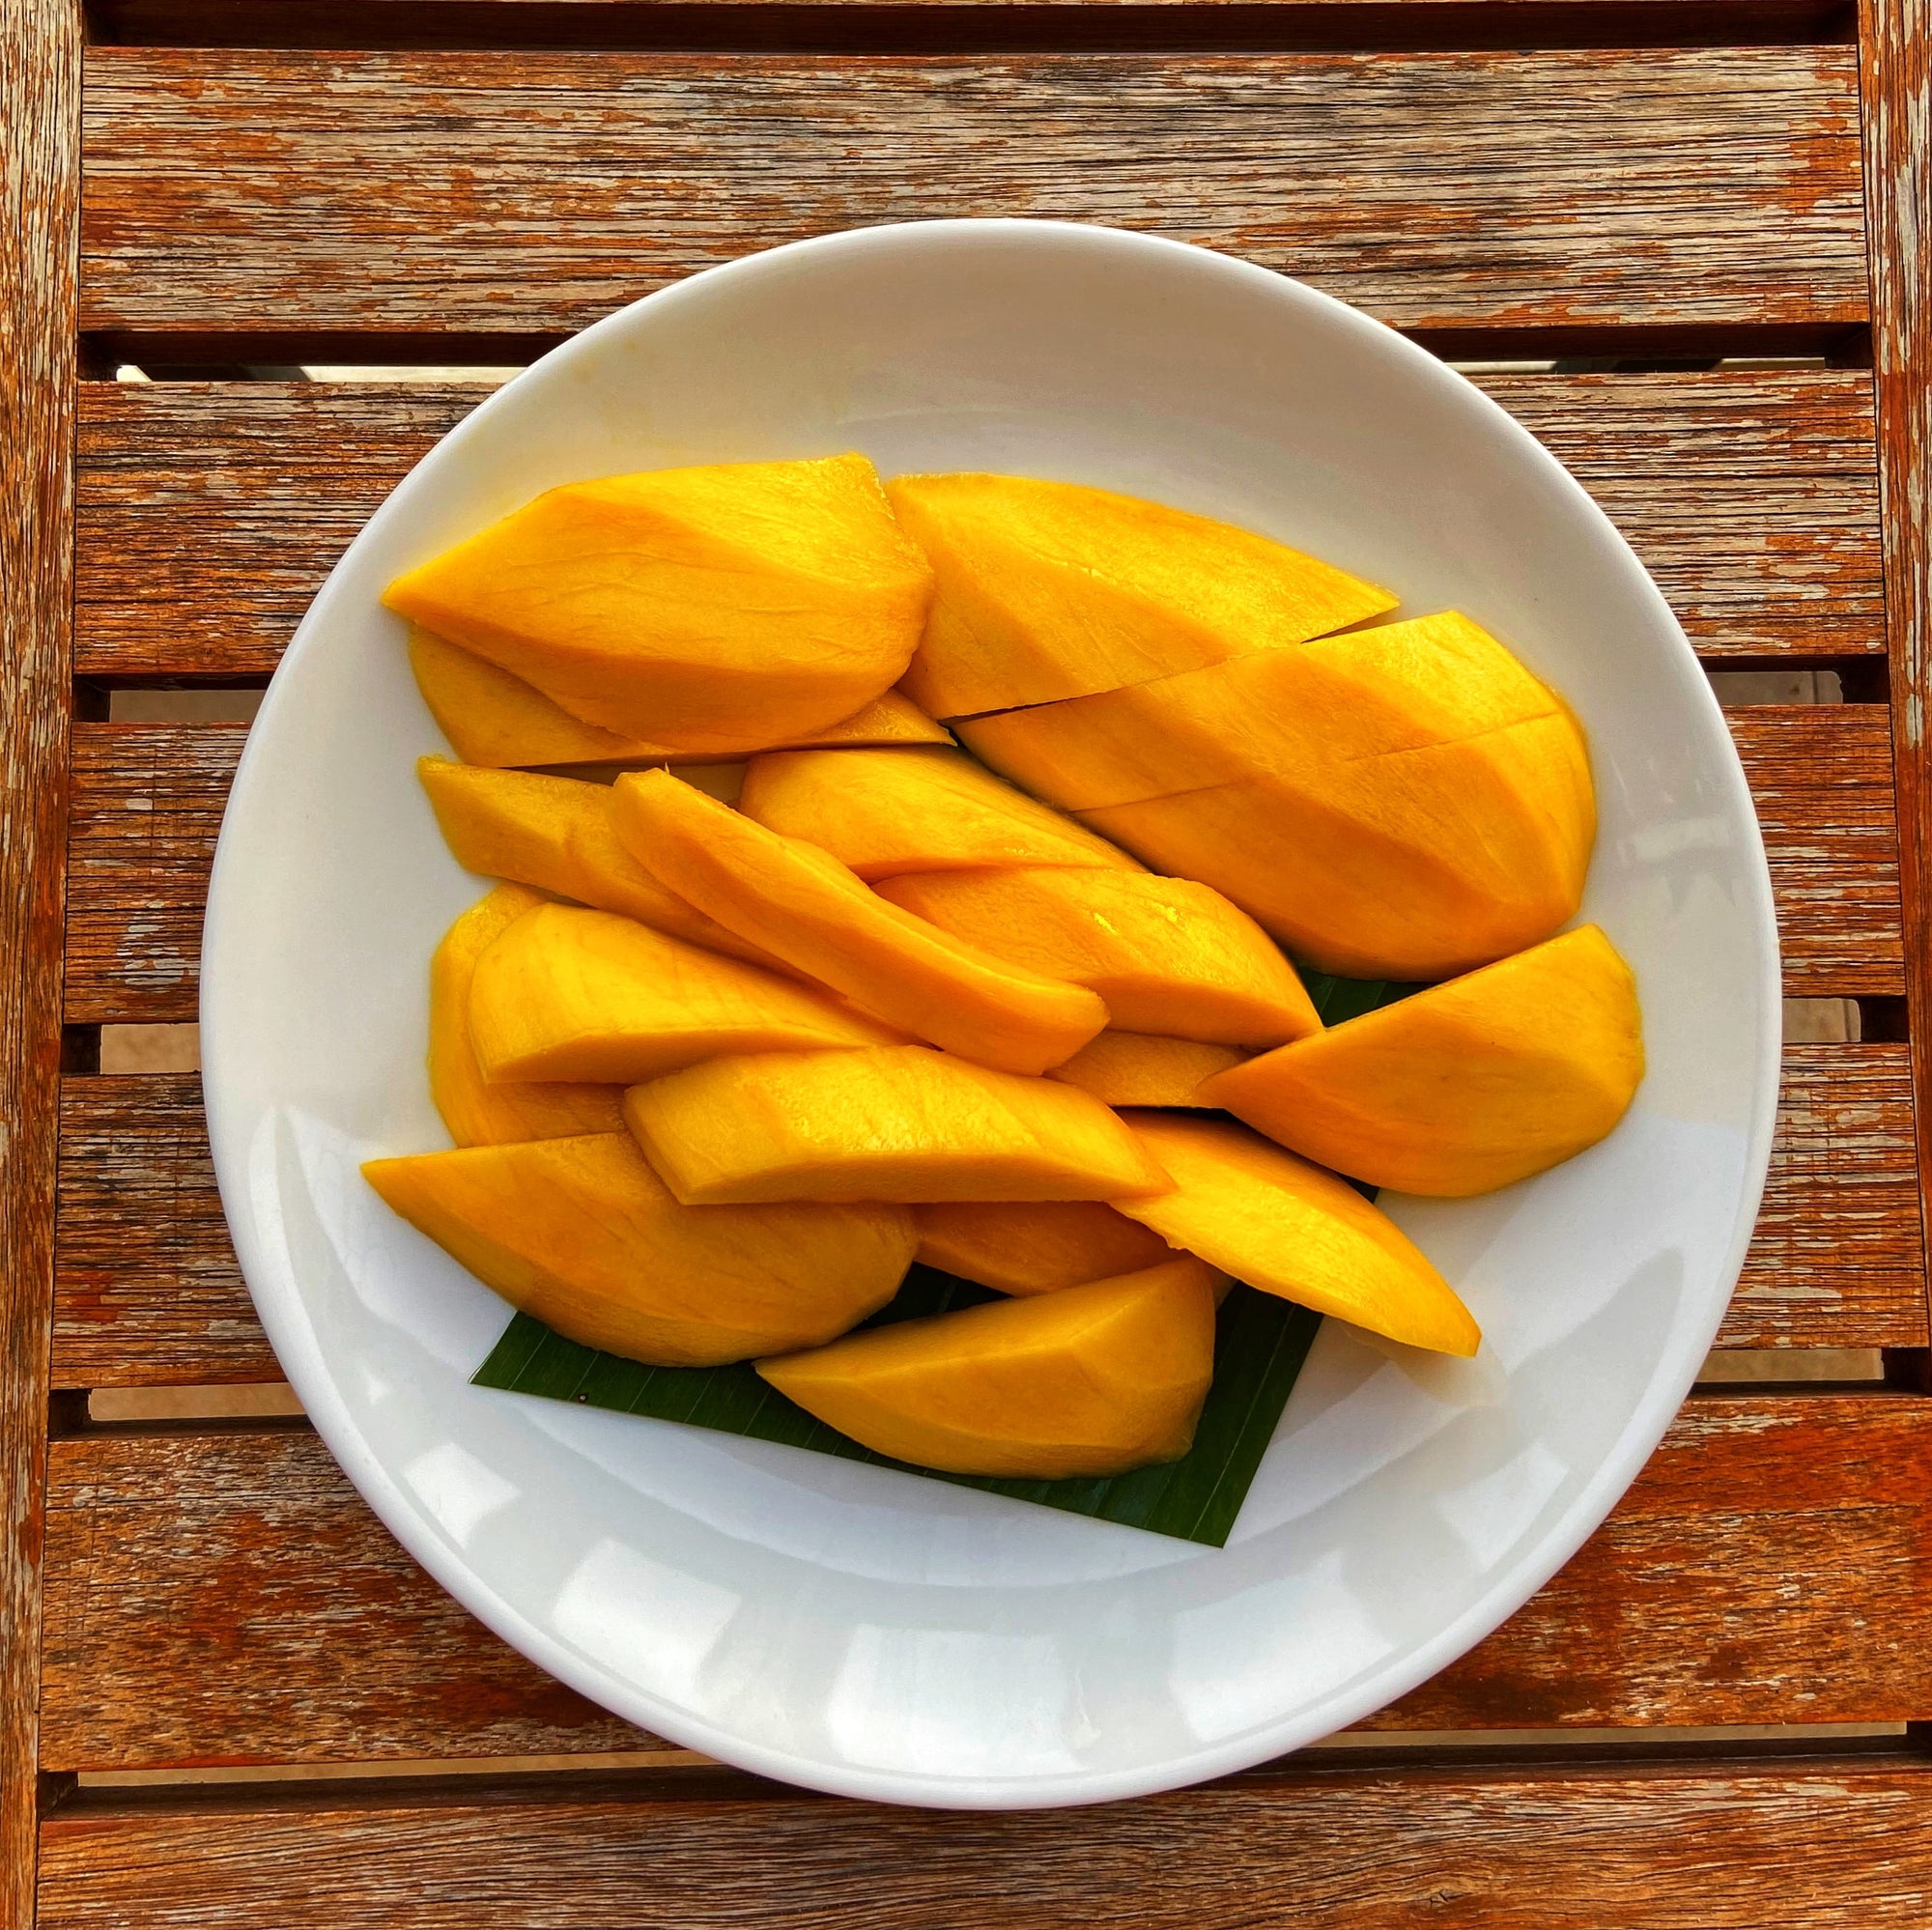
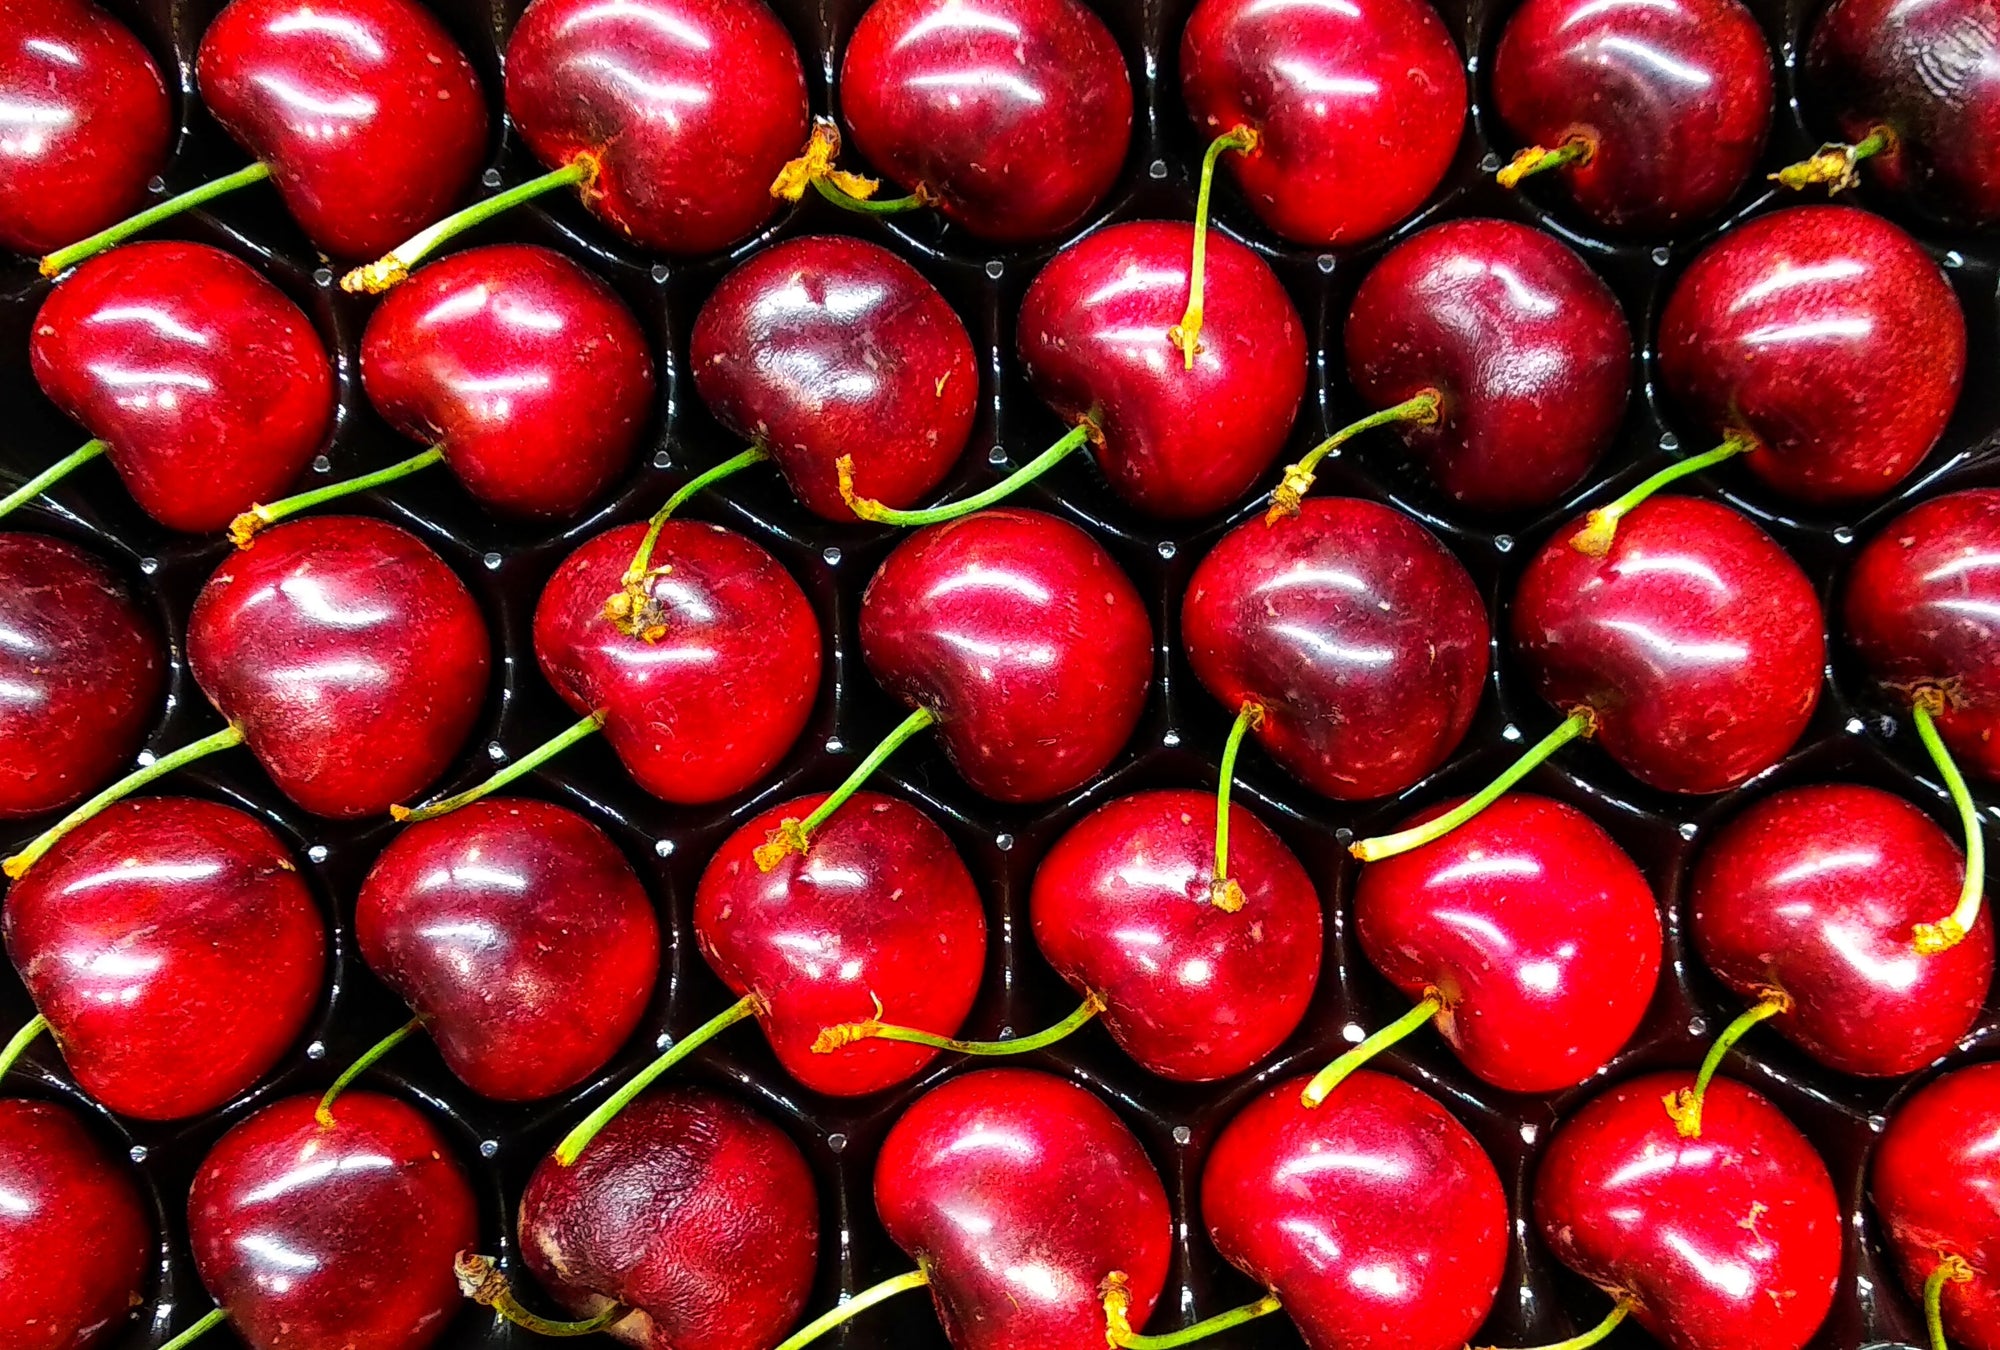
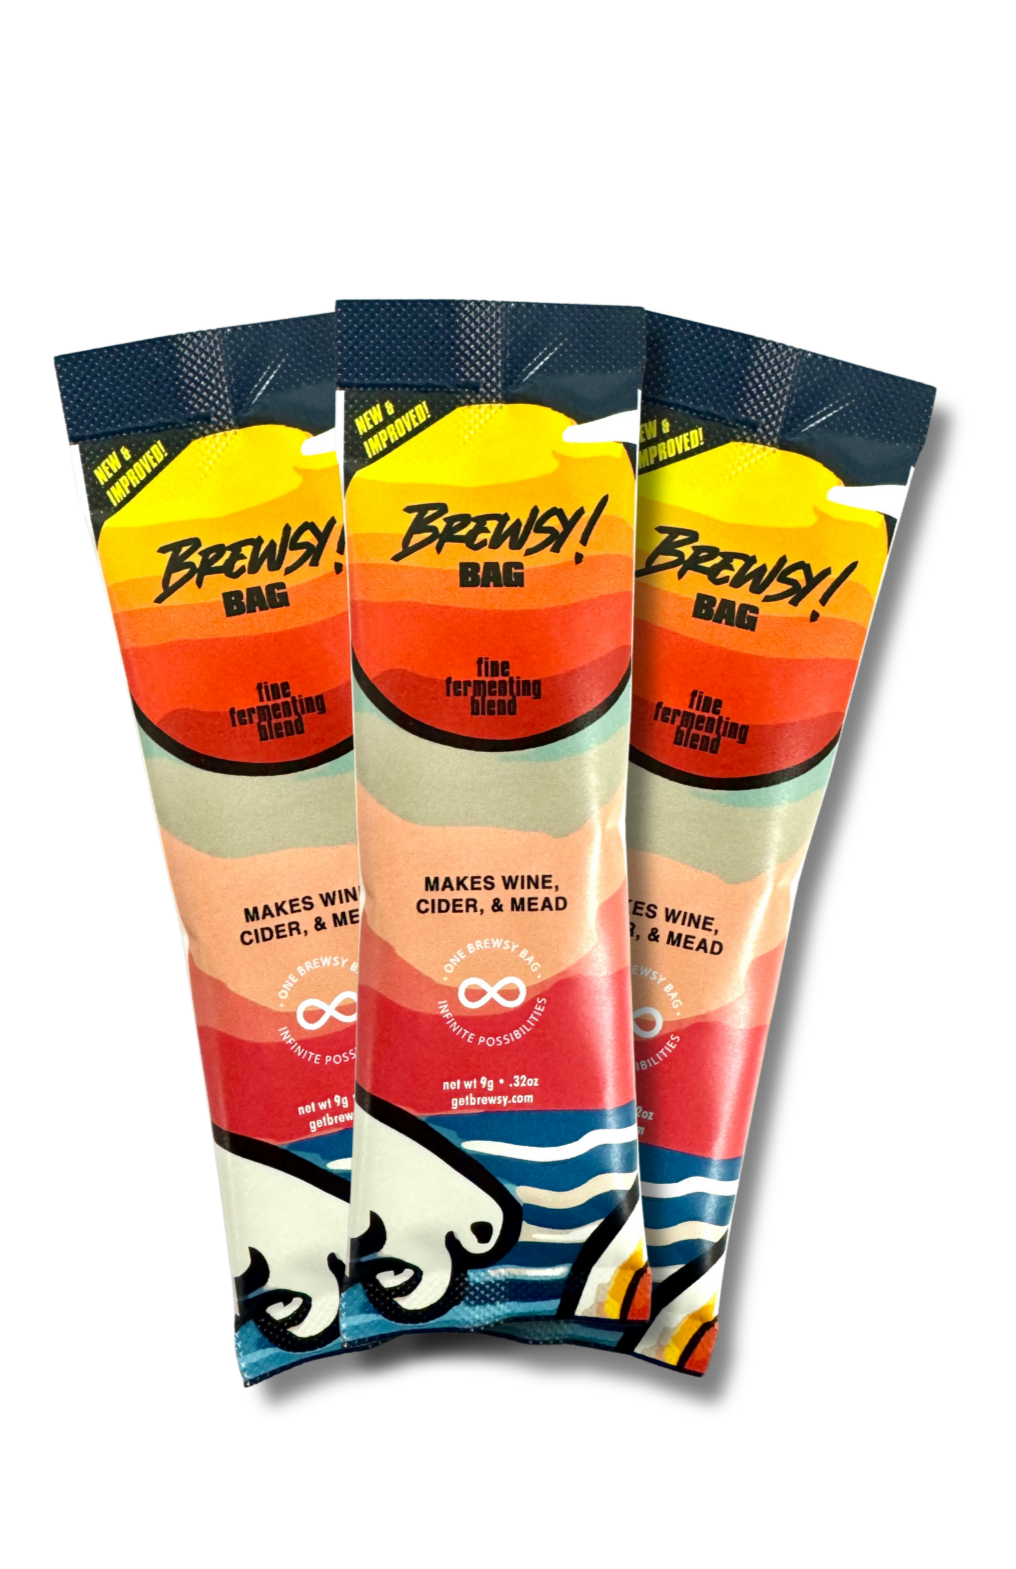
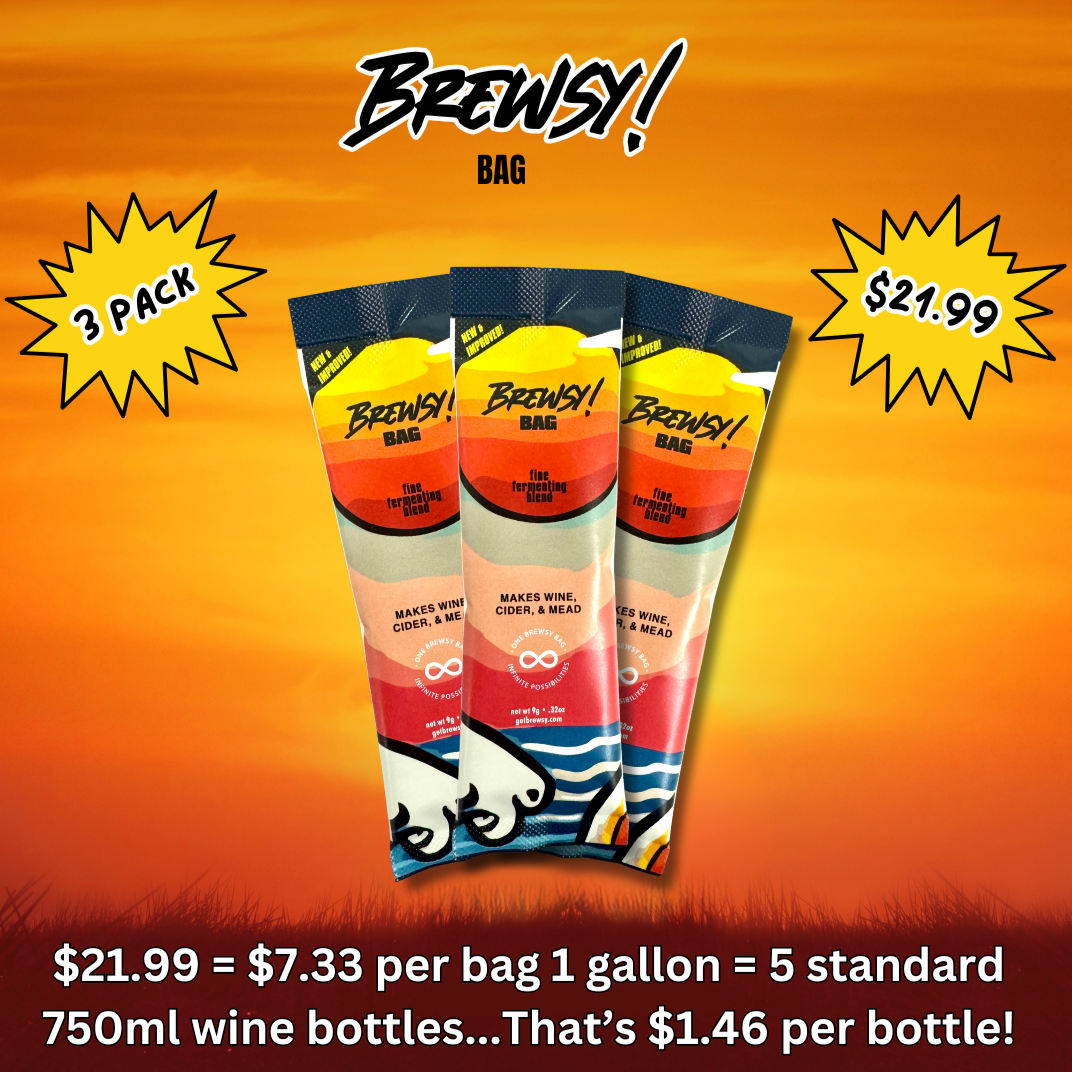
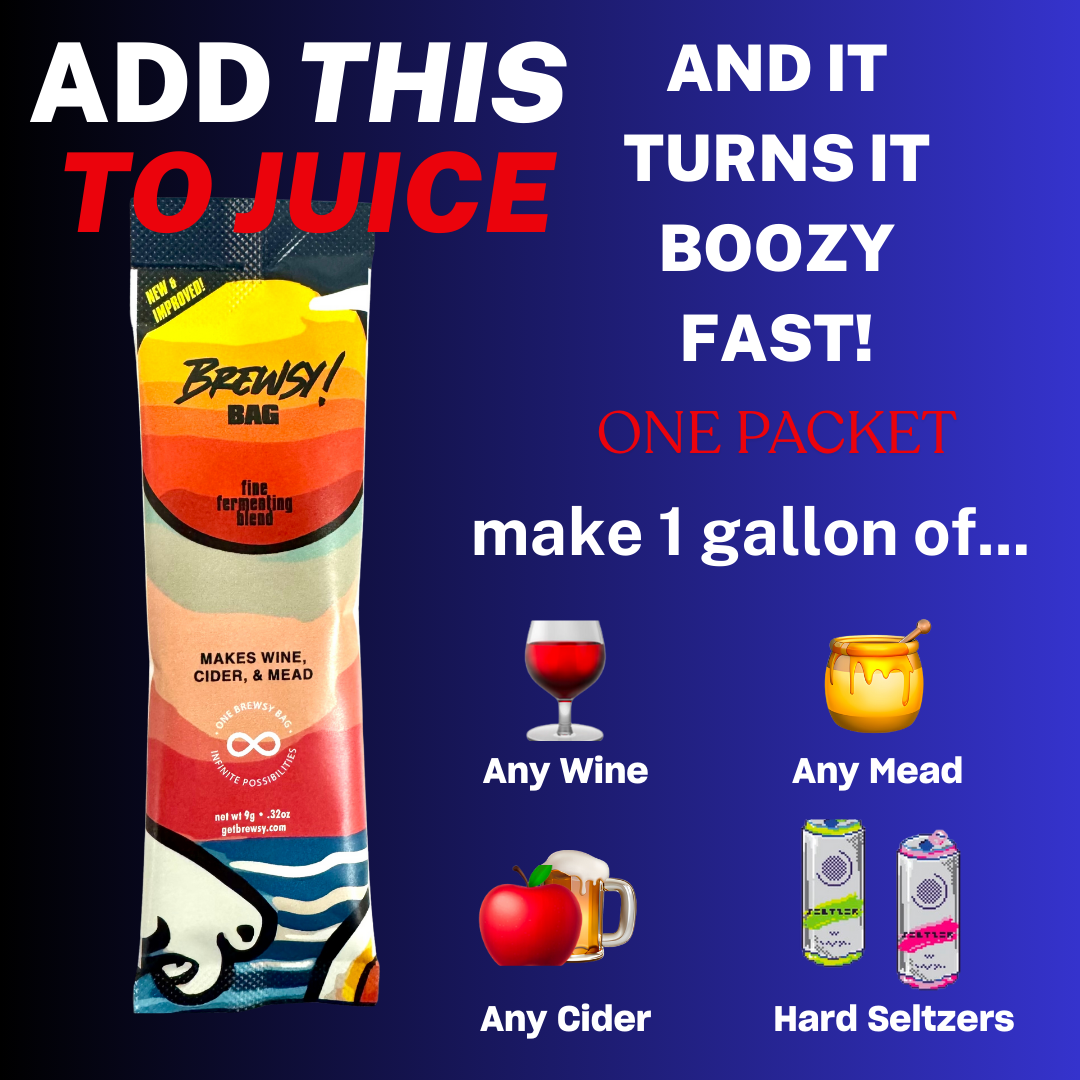
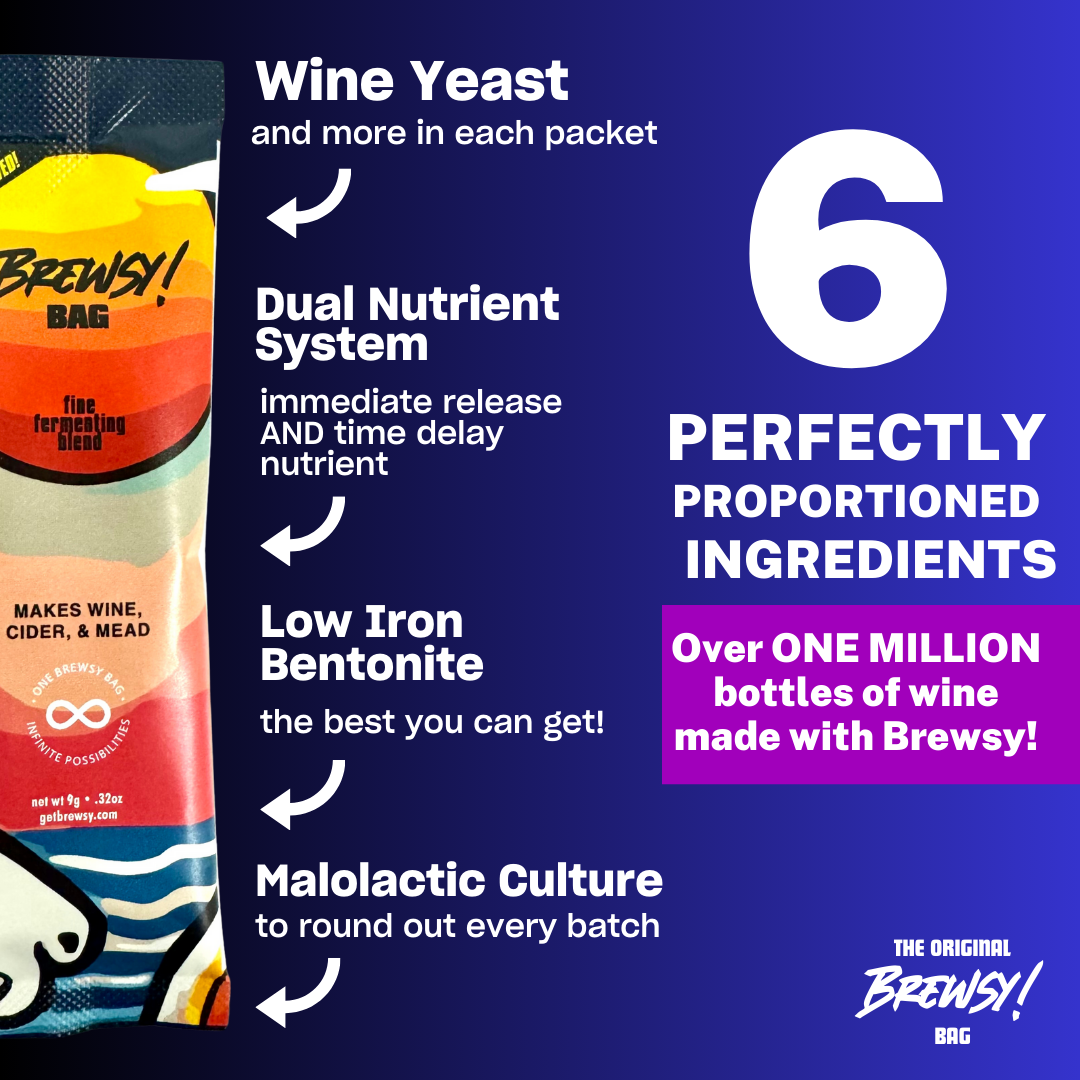
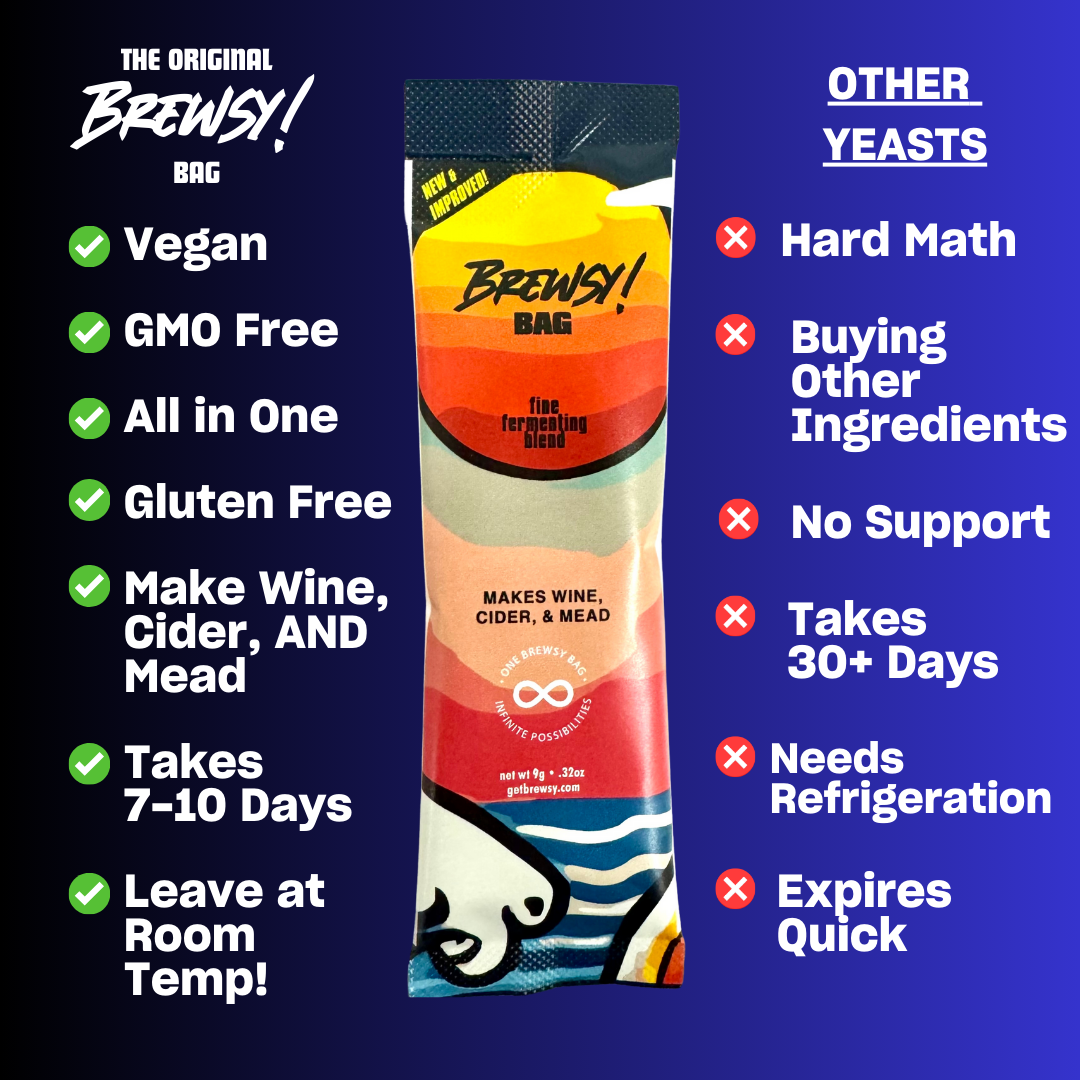
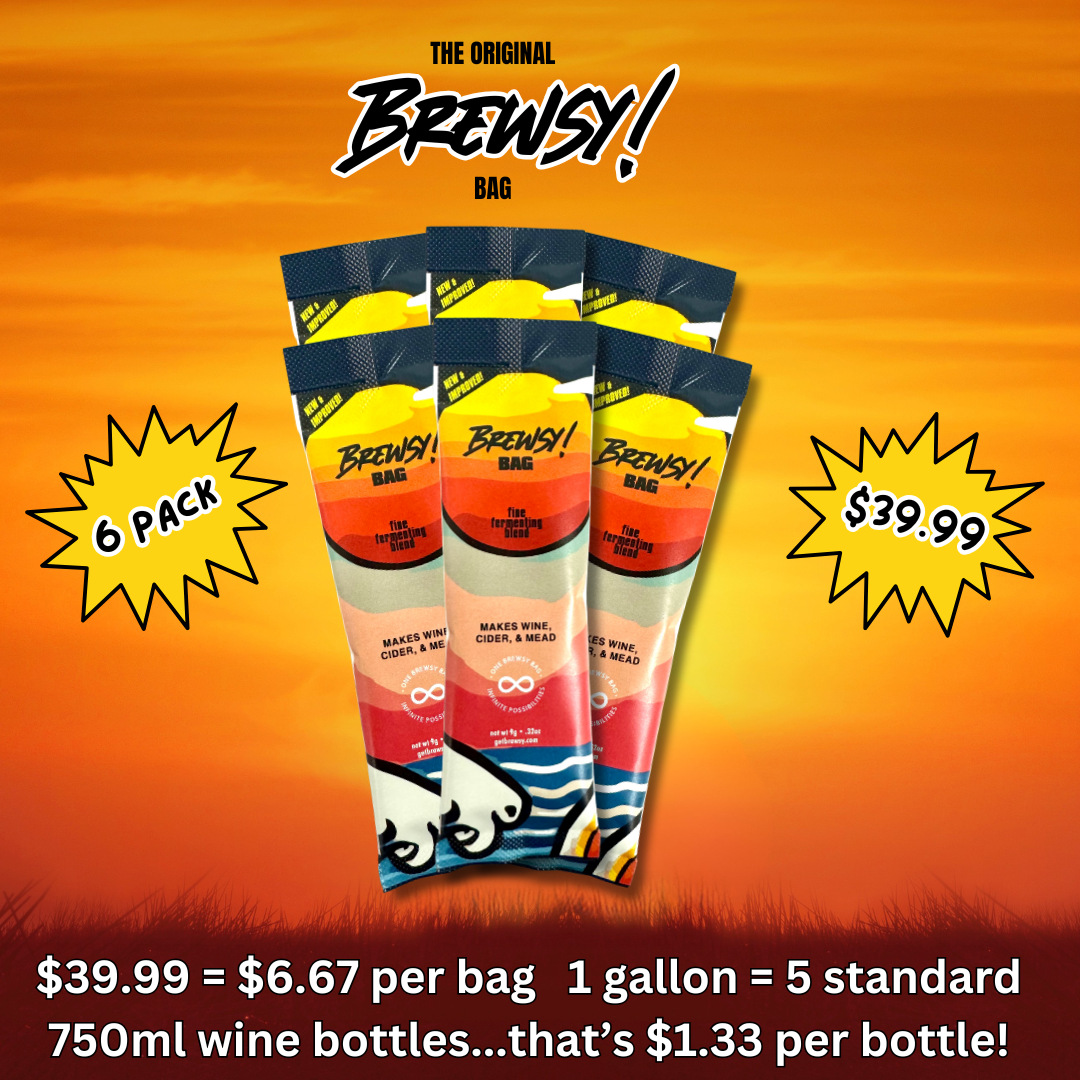
If using fresh fruit, start by preparing it as needed whether it be simply mashing it - like grapes - or gently cooking it - such as peaches or watermelon, which will need cooling down to room temperature. From here, add the juice to a gallon jug and add sugar as recommended by our drink designer. Before anything else, make sure the sugar has fully dissolved in the juice. If you have a hydrometer, this will be the perfect moment to take an initial reading. Once the sugar has dissolved, and a reading has been taken, it is time to add a Brewsy bag, and swirl the jug a bit, then pop on the airlock.
From here, it is more or less a waiting game. Within optimal temperatures, the yeast will start getting to work by eating the sugar and giving out alcohol and carbon dioxide which will be released through the airlock. This part of the process should last five to seven days, swirling the jug once a day.
After the fermentation period, it is a good idea to take another hydrometer reading to gauge how much alcohol it has. If you are happy with the taste and alcohol, it is time to cold-crash. You can either remove the airlock and substitute with a loose cap, or remove the airlock but keep the stopper on to allow remaining gases to escape while in the fridge. Initial duration is 48 hours.
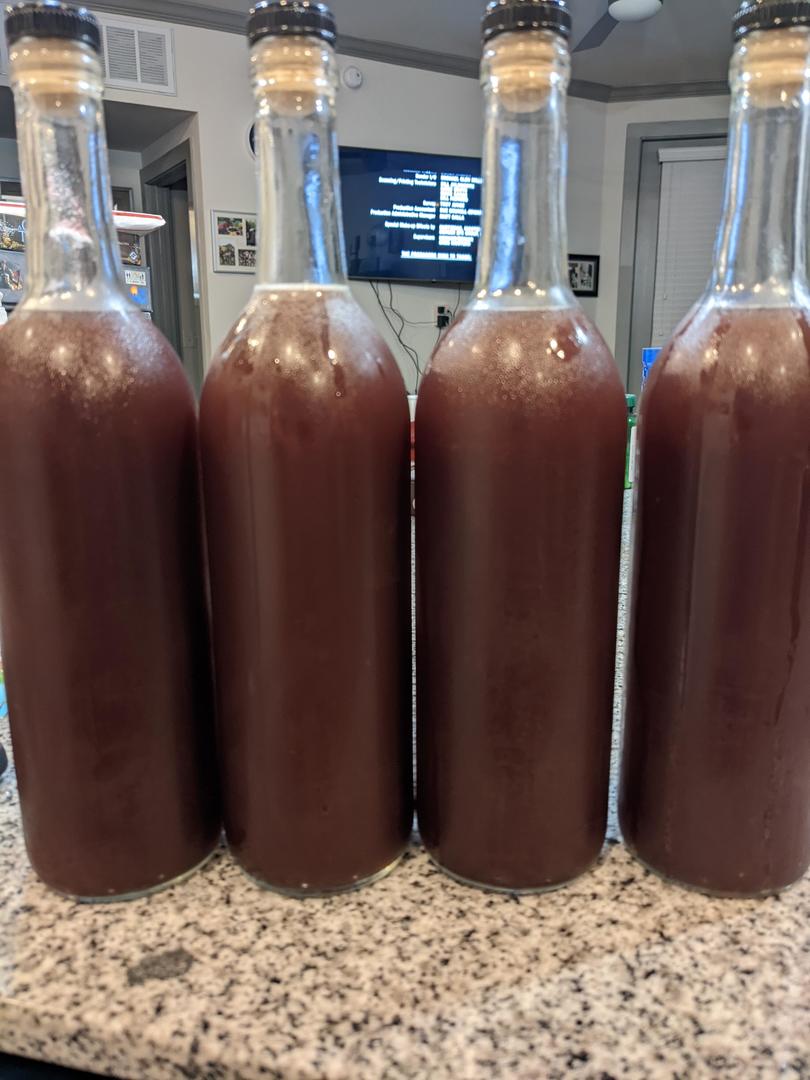
After cold-crashing, it is time to rack. Start by carefully pouring off the brew into a different jug until only the sediment remains in the original vessel. Should you wish to employ them, this is the time to add GoClear and/or the flavor protector. From here, you can repeat the cold-crashing and racking process one to two more times, adding another dose of the protector every time. Once you are happy with the clarity, it is time for bottling the wine, cap/cork it and store in the fridge. It is highly recommend to let the wine age a bit.
If you opted to use the fermentation stabilizer, you will want to add a dose after the final racking but before bottling, then let stand at room temperature loosely capped for 24 hours. After 24 hours, it is time to seal the cap tightly and let sit for seven days. If no gases release after seven days, feel free to bottle and store them anywhere. If there is a gas release, add another dose of the stabilizer and cap for another two days.
That is it! That is your homemade wine!


